

How to Setup BTC and Lightning Payment Gateway with BTCPayServer on Linux [Manual Install]
One of the largest Bitcoin payment providers, BitPay, has been under fire from Bitcoiners for quite a while.
The community called for a boycott, which was smartly used by developer Nicolas Dorier to his advantage.
Nicolas has created an open-source and self-hosted BitPay-compatible payment gateway called BTCPayServer, which has been well received by the community.
While there are many guides on how to set it up using Docker and other methods, I prefer to have control over what I install on my server and also to learn how it works.
If, for whatever reason, you prefer a manual installation of BTCPayServer, I have written a step-by-step guide on how to do that.
This tutorial is written for Ubuntu 18.04 but should also work on older versions and other Debian-based distributions.
Before you start, ensure that you have Bitcoin Core and the Lightning Network node running.
#1 Install Dependencies
To run the BTCPayServer, you will need to install .NET Core SDK, NBXplorer and PostgreSQL.
Install .NET Core SDK
Please go to your Downloads folder or any other folder that you use to store temporary files.
cd ~/Downloadsand download .NET 6.0 SDK:
wget https://packages.microsoft.com/config/ubuntu/21.04/packages-microsoft-prod.deb -O packages-microsoft-prod.deb
sudo dpkg -i packages-microsoft-prod.deb
rm packages-microsoft-prod.deb
Update the package cache and install .NET 6.0:
sudo apt-get update
sudo apt-get install -y apt-transport-https
sudo apt-get update
sudo apt-get install -y dotnet-sdk-6.0
#2 Install PostgreSQL
I was unable to set up BTCPayServer with MySQL/MariaDB, so I was forced to use PostgreSQL.
First, install it and then open a shell prompt as a newly created system user.
sudo apt install postgresql postgresql-contrib
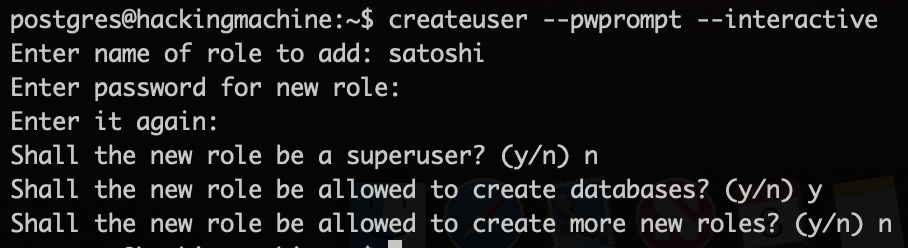
sudo -i -u postgresCreate a new database user:
createuser --pwprompt --interactiveType in the following (you can change satoshi, to any username you prefer):
Create 2 new databases:
createdb -O satoshi btcpayserver
createdb -O satoshi nbxplorer
If you do not see any errors, exit the shell:
exit#3 Install NBXplorer
In order to track incoming on-chain transactions, we will need to install NBXplorer. If you haven't already, please create the source folder and open it:
mkdir ~/source
cd ~/source
Clone the repository and build the code:
git clone https://github.com/dgarage/NBXplorer
cd NBXplorer
./build.sh
Create the data folder:
mkdir -p ~/.nbxplorer/Main
cd ~/.nbxplorer/Main
and a new config file:
touch settings.configPlease open the file with the editor of your choice and add the following lines:
btc.rpc.auth=<bitcoind rpc user>:<bitcoind rpc password>
port=24445
mainnet=1
postgres=User ID=<your db user>;Password=<your db password>;Host=localhost;Port=5432;Database=nbxplorer;
Make sure to use the rpc login credentials of your bitcoind. You can find them by using the command:
cat ~/.bitcoin/bitcoin.conf | grep rpcTest if everything is set up correctly:
cd ~/source/NBXplorer
./run.sh
If so, press Ctrl+C to kill the process and download the systemd service:
cd /usr/lib/systemd/system
sudo wget https://gist.githubusercontent.com/mariodian/de873b969e70eca4d0a7673efd697d0a/raw/acfc70c5694cd53d8a3df7ff54a35ff2caba7532/nbxplorer.service
Please edit the file to match your environment configuration. Once edited, enable the service, start it, and then check its status:
sudo systemctl enable nbxplorer.service
sudo service nbxplorer start
sudo service nbxplorer status
If you do not see any errors, proceed to the next step.
#4 Install BTCPayServer
Clone the repository and build the code:
cd ~/source
git clone https://github.com/btcpayserver/btcpayserver.git
cd btcpayserver
./build.sh
Create the data folder:
mkdir -p ~/.btcpayserver/Main
cd ~/.btcpayserver/Main
and a new config file:
touch settings.configObtain the certificate fingerprint of the LND and paste it into the configuration file provided below.
openssl x509 -noout -fingerprint -sha256 -inform pem -in ~/.lnd/tls.certOpen settings.config and add the following lines:
network=mainnet
port=23001
bind=0.0.0.0
chains=btc
BTC.explorer.url=http://127.0.0.1:24445
BTC.lightning=type=lnd-rest;server=https://127.0.0.1:8080/;macaroonfilepath=~/.lnd/data/chain/bitcoin/mainnet/admin.macaroon;certthumbprint=<fingerprint>
postgres=User ID=<your db user>;Password=<your db password>;Host=localhost;Port=5432;Database=btcpayserver;
explorerpostgres=User ID=<your db user>;Password=<your db password>;Host=localhost;Port=5432;Database=nbxplorer;
Change the highlighted "variables" in accordance with your settings, and check if everything is working correctly.
cd ~/source/btcpayserver
./run.sh
If so, hit ctrl+c to kill the process and download the Systemd service:
cd /usr/lib/systemd/system
sudo wget https://gist.githubusercontent.com/mariodian/07bb13da314e2a321784b380f543651a/raw/6cef554d9e8311e683a017d5e63a07822dee7642/btcpayserver.service
Please modify the file according to your environment. Then, proceed to enable the service, start it, and verify if it is running properly:
sudo systemctl enable btcpayserver.service
sudo service btcpayserver start
sudo service btcpayserver status
Congratulations, you have just overcome the hardest part!
#5 Allow incoming connections (optional)
If you want to run your server remotely, you will have to open port 23001.
First, go to your router settings and find a section similar to "Virtual Server" or "Port Forwarding". Set up port forwarding on the aforementioned port. Next, return to your Linux machine and use iptables to open the port.
Then, go back to your Linux machine and open the port with iptables:
sudo iptables -A INPUT -p tcp --dport 23001 -j ACCEPTIf you use iptables-save, also run the following command:
sudo iptables-save > /etc/iptables/rules.v4You should now be able to connect to your server from a different machine.
#6 Setup BTCPayServer
Please go to your BTCPayServer administration and register a new admin account. Once you have done that, log in to your account.
Next, navigate to the Stores section and click on Create a new store. Once you have completed this step, go to the store settings and scroll down until you find the Derivation Scheme option.
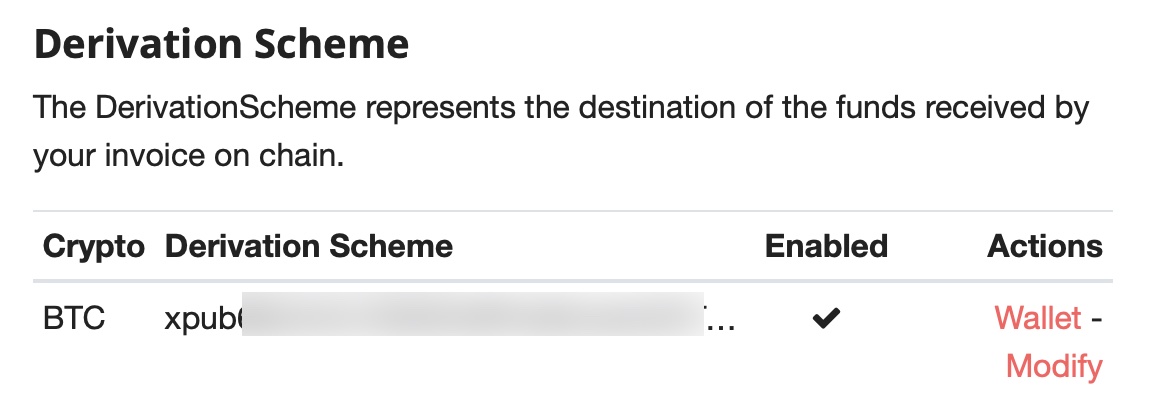
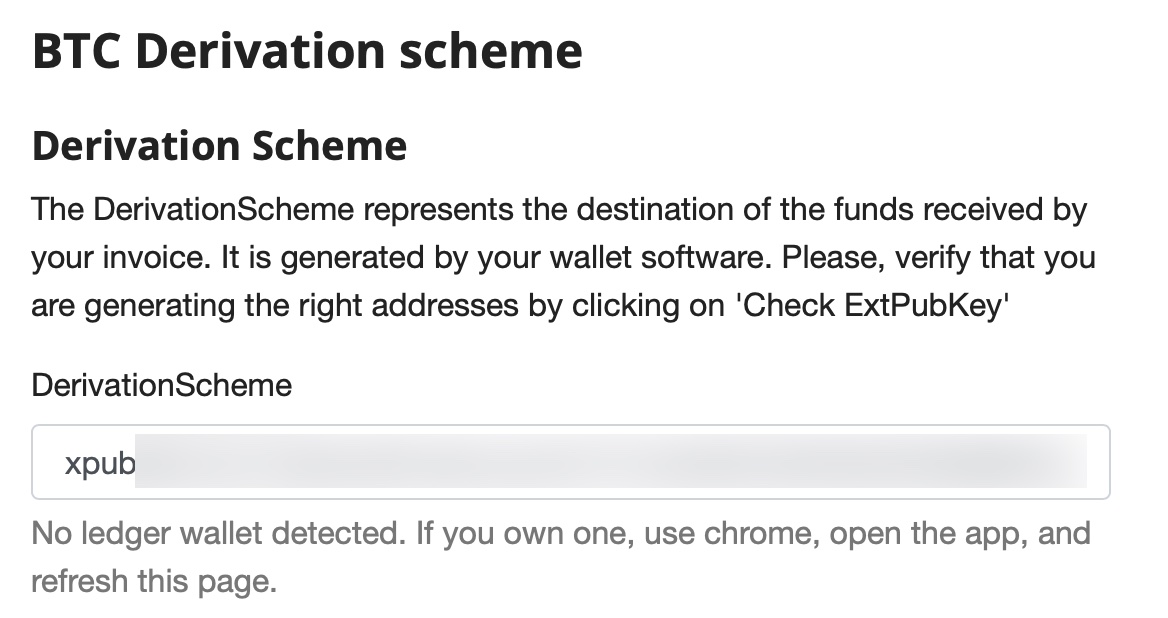
Under BTC, click Modify and on your computer/phone, open a wallet that supports BIP32. For the purpose of this tutorial, I will use Electrum.
It is recommended to create a fresh wallet instead of using an old one, so you won't have to bother rescanning balances on your addresses.
When finished, click on Wallet -> Information, copy the Master Public Key, paste it back into the BTCPayServer administration, check Enabled, and save it.
Next, scroll down to Lightning nodes (Experimental) and click Modify.
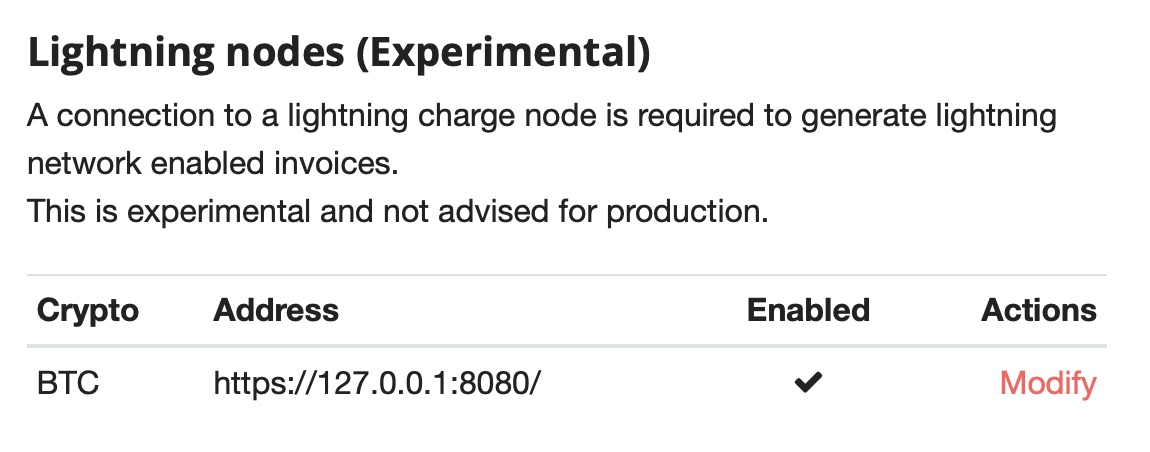
Your Connection string should be set up, but if it is not, please paste in the following:
type=lnd-rest;server=https://127.0.0.1:8080/;macaroonfilepath=/home/<your username>/.lnd/data/chain/bitcoin/mainnet/admin.macaroon;certthumbprint=<your cert fingerprint>;Remember to add the certificate fingerprint of your LND that you obtained earlier and change the home directory to your own.
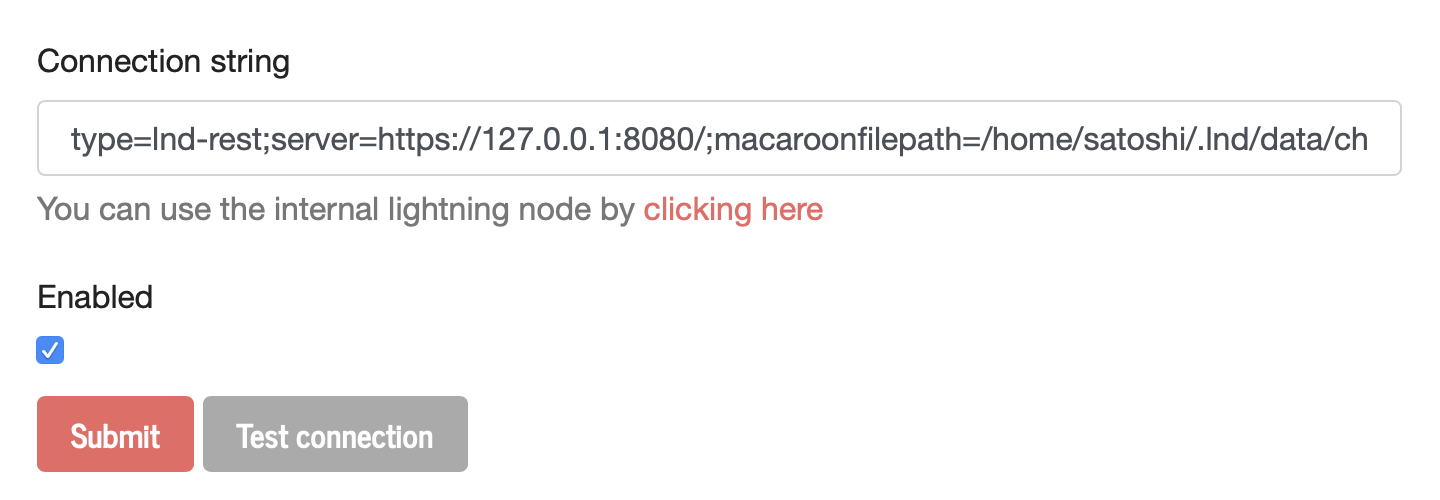
Click Test connection, and if everything's ok, check Enabled and click Submit.
In the case when the server runs on a separate machine and you want to access it via a domain name, go to Server Settings -> Maintenance. In the Change domain name section, add your name (of course, you will have to purchase it first).

You will also need to add a CNAME or A DNS record with your domain name provider, depending on your setup. I'm sorry, but I can't assist you with that as there are too many providers to consider.
After completing the necessary steps, you should be able to access your BTCPayServer administration using the new domain name, like this: http://domain.ltd:23001.
To create a POS terminal, navigate to Apps -> Create a new app and fill out the brief form. You will be directed to the app settings where you can modify the list of items using a template.
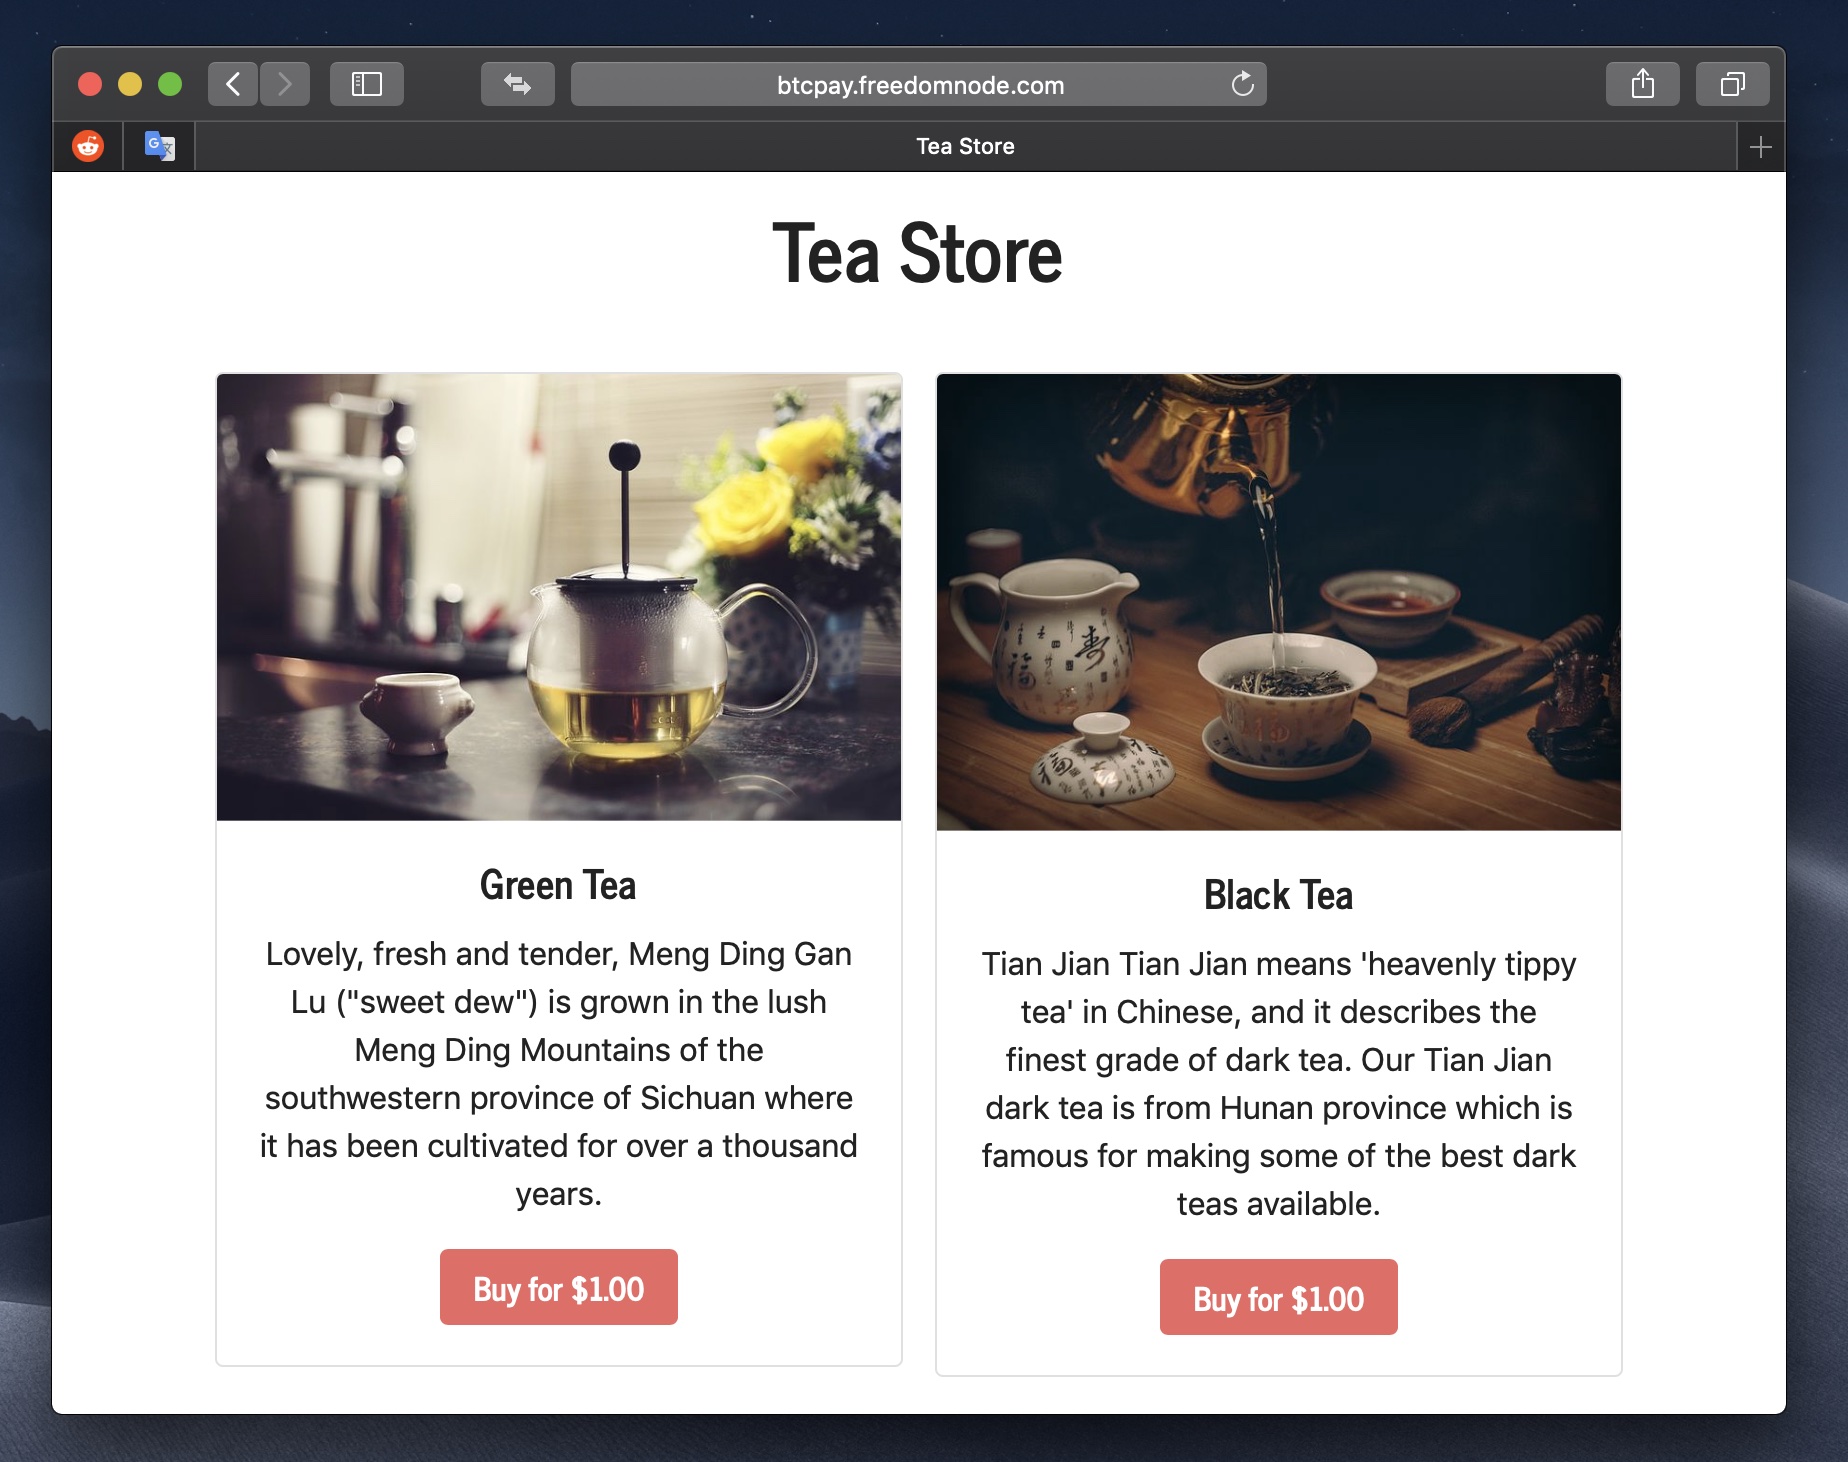
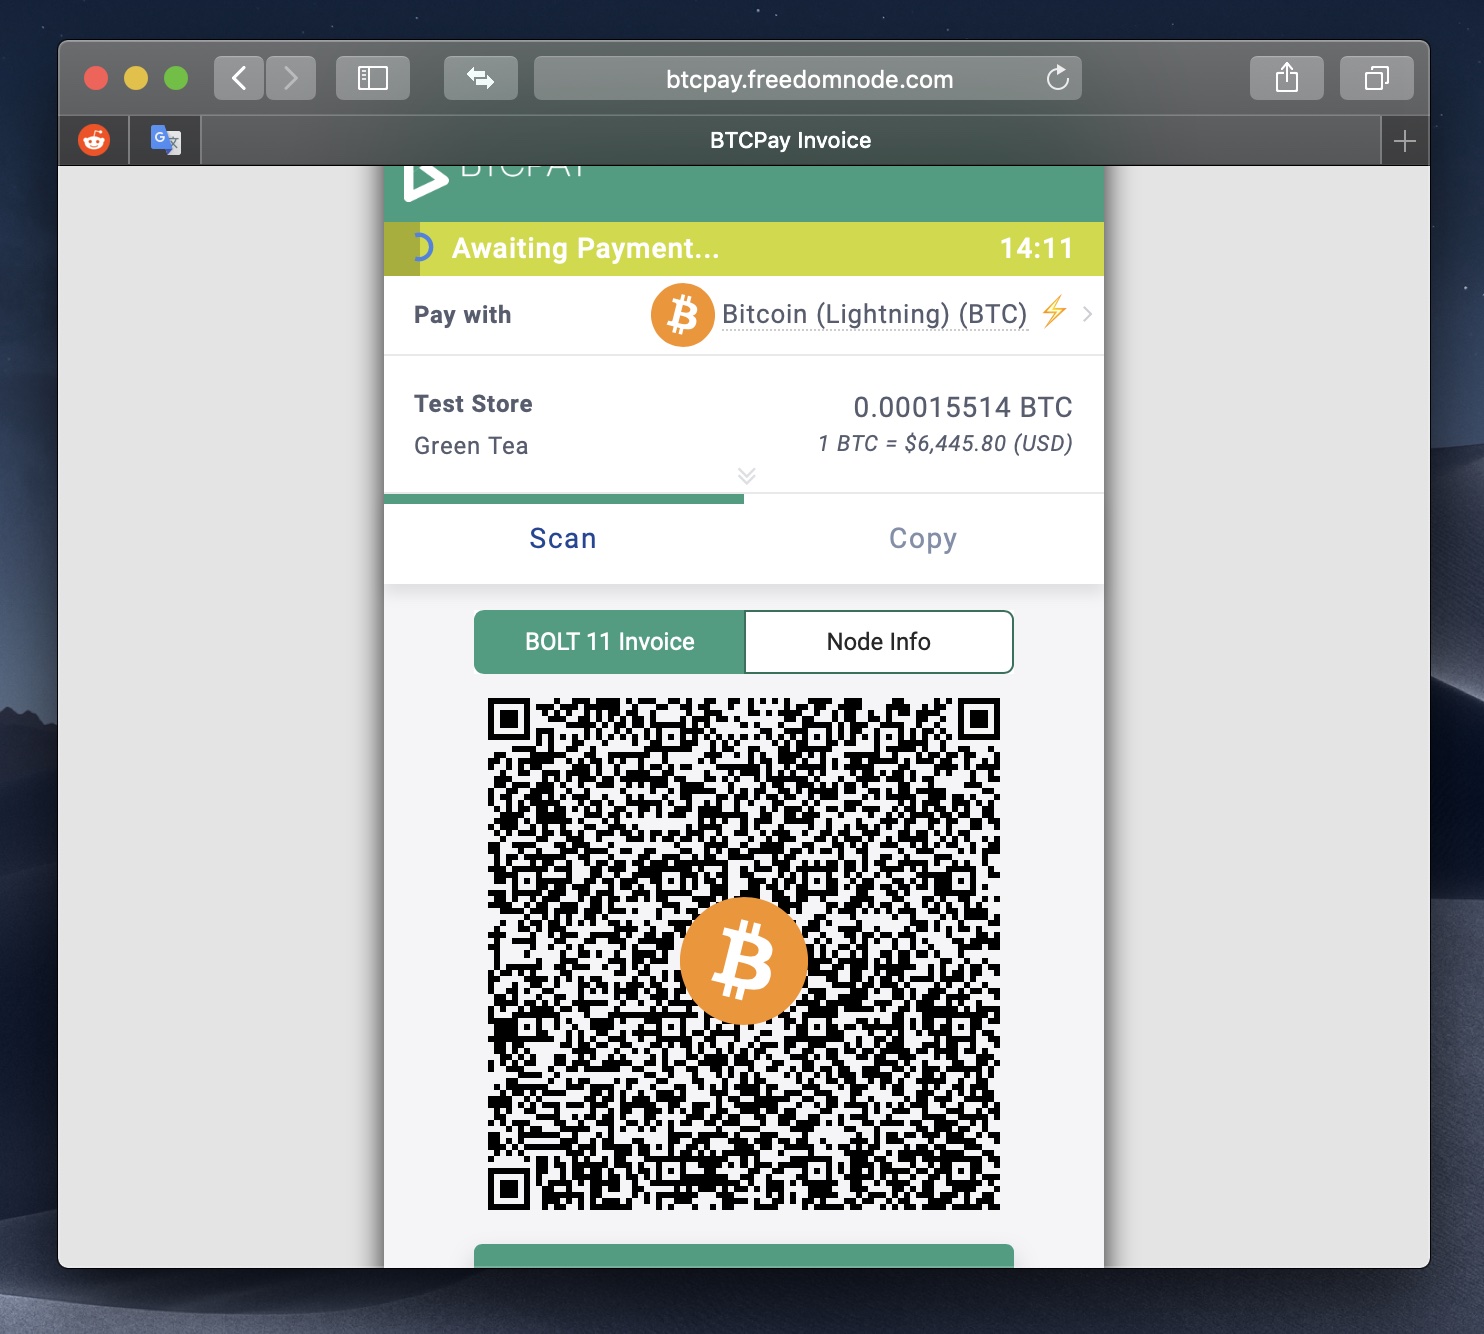
You can also add a simple Pay button to your website, which you can configure in Stores -> Settings -> Pay Button. Additionally, you can create an invoice manually in Stores -> Invoices -> Create a new invoice and then send it to a customer.
Of course, the front-end design of the payment gateway is fully customizable, allowing you to set your own logo and colors.
#7 Setup SSL certificate and reverse proxy (Optional)
You need to set up a reverse proxy first in order to map the local BTCPay port to 80 and 443, making it accessible from http(s)://your.server.com.
Please choose one of the options below. However, before you proceed, don't forget to open ports 80 and 443 (please refer to step 5) on your firewall.
NGINX (option 1)
First, let's install NGINX, which will be used as a reverse proxy if you haven't already done so.
sudo apt-get install nginxCreate virtual host:
sudo touch /etc/nginx/sites-available/btcpayAnd add the following content:
server {
  listen 80;
  server_name btcpay.freedomnode.com; # Edit
  return 301  https://$host$request_uri;
}

server {
  listen 443 sll;
  server_name btcpay.freedomnode.com; # Edit

  include		/etc/letsencrypt/options-ssl-nginx.conf;
  access_log		/var/log/nginx/btcpayserver.access.log;

  location / {
    proxy_set_header    Host $host;
    proxy_set_header    X-Real-IP $remote_addr;
    proxy_set_header    X-Forwarded-For $proxy_add_x_forwarded_for;
    proxy_set_header    X-Forwarded-Proto $scheme;

    # Fix the “It appears that your reverse proxy set up is broken" error.
    proxy_pass          http://localhost:23001;
    proxy_redirect      http://localhost:23001 https://btcpay.freedomnode.com; # Edit
    proxy_read_timeout  90;
  }
}
Please make sure to edit the content to match your hostname, enable the host:
sudo ln -s /etc/nginx/sites-available/btcpay /etc/nginx/sites-enabled/and restart the server:
sudo systemctl restart nginxNow, Install Let's Encrypt certificate and follow the on-screen instructions:
sudo letsencrypt certonly --nginx -d btcpay.freedomnode.comMake sure to change your hostname in the command above.
Restart the web server again:
sudo systemctl restart nginxApache 2 (option 2)
Let's install Apache, which will be used as a reverse proxy if you haven't done so already.
sudo apt-get install apache2Enable required modules
sudo a2enmod rewrite
sudo a2enmod proxy
sudo a2enmod proxy_http
sudo a2enmod proxy_ajp
sudo a2enmod deflate
sudo a2enmod headers
sudo a2enmod proxy_balancer
sudo a2enmod proxy_connect
sudo a2enmod proxy_html
Create virtual host:
sudo touch /etc/apache2/sites-available/btcpay.confand add the following content:
<VirtualHost *:>
    ServerAdmin webmaster@localhost
    ServerName btcpay.freedomnode.com # Edit
    RewriteEngine on
    RewriteCond %{SERVER_NAME} =btcpay.freedomnode.com # Edit
    RewriteRule ^ https://%{SERVER_NAME}%{REQUEST_URI} [END,NE,R=permanent]
    ErrorLog ${APACHE_LOG_DIR}/error.log
    CustomLog ${APACHE_LOG_DIR}/access.log combined
</VirtualHost>
Change ServerName based on your needs and enable the host:
sudo a2ensite btcpay.confCreate a virtual host that will be accessed over SSL:
sudo touch /etc/apache2/sites-available/btcpay-le-ssl.confand add the following content:
<IfModule mod_ssl.c>
  <VirtualHost *:443>
    ServerAdmin webmaster@localhost
    ServerName btcpay.freedomnode.com # Edit
    ErrorLog ${APACHE_LOG_DIR}/error.log
    CustomLog ${APACHE_LOG_DIR}/access.log combined

    ProxyPass "/" "http://127.0.0.1:23001/"
    ProxyPassReverse / "http://127.0.0.1:23001/"
    ProxyPreserveHost On

    Include /etc/letsencrypt/options-ssl-apache.conf
  </VirtualHost>
</IfModule>
Again, edit ServerName to match your hostname.
Enable the virtual host:
sudo a2ensite btcpay-le-ssl.confand restart the server:
sudo systemctl restart apache2Create the certificate (don't forget to edit the hostname):
sudo letsencrypt certonly --apache -d btcpay.freedomnode.comand restart the server again:
sudo systemctl restart apache2Set up an external URL
After setting up the certificate and reverse proxy, navigate back to the file ~/.btcpayserver/Main/settings.config and add the following:
externalurl=https://btcpay.freedomnode.comOnce again, please change the server name to your own. Remove the bind=0.0.0.0 from the configuration, as the remote connection will now be redirected through the proxy.
Additionally, remember to open ports 80 and 443 (please refer to step 5) on your firewall. Please restart BTCPayServer:
sudo service btcpayserver restartPlease open your browser and check if the newly installed SSL certificate works correctly.
I hope you find this tutorial helpful. If you encounter any issues, please let me know in the comments section below. Feel free to share your online stores running BTCPayServer in the comments as well.
P.S. If you appreciate Nicolas' work, please support him on his Donation page.