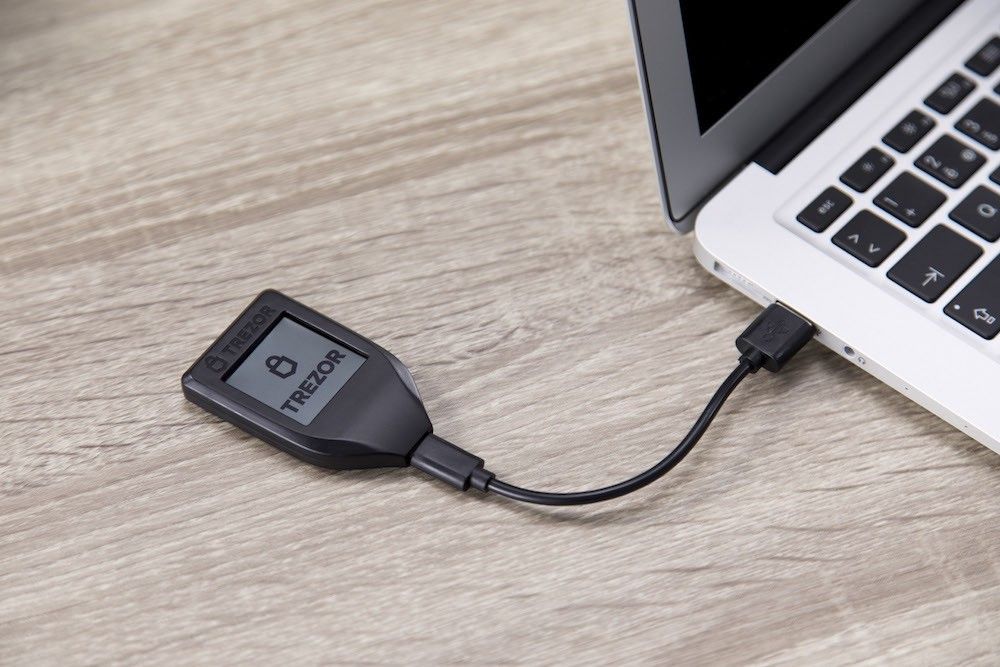
How to Create and Use a Bitcoin Multi-signature wallet with Electrum and Trezor

Bitcoin supports scripting since the day one which gives it capabilities beyond just spending outputs in a "standard" way.
One of such use cases is a multi-signature wallet.
It allows to "lock" outputs in a way that can only be spendable if m-of-n signatures are present.
Multisig is often used to secure one's bitcoin or in an environment with multiple coin hodlers (e.g. company owners) where trust is required.
Using a multi-signature wallet is easy but it may be a bit tricky to set it up at first.
In the following tutorial, I'll create a test multi-signature wallet with Trezor, fund it with a small amount of bitcoin and then spend the coins using signatures of the necessary number of cosigners.
I'll be using the latest Electrum 3.1.3 (you should use the latest version!) to set up everything but you can use any wallet that supports multisig and Trezor.
Create a multisig wallet
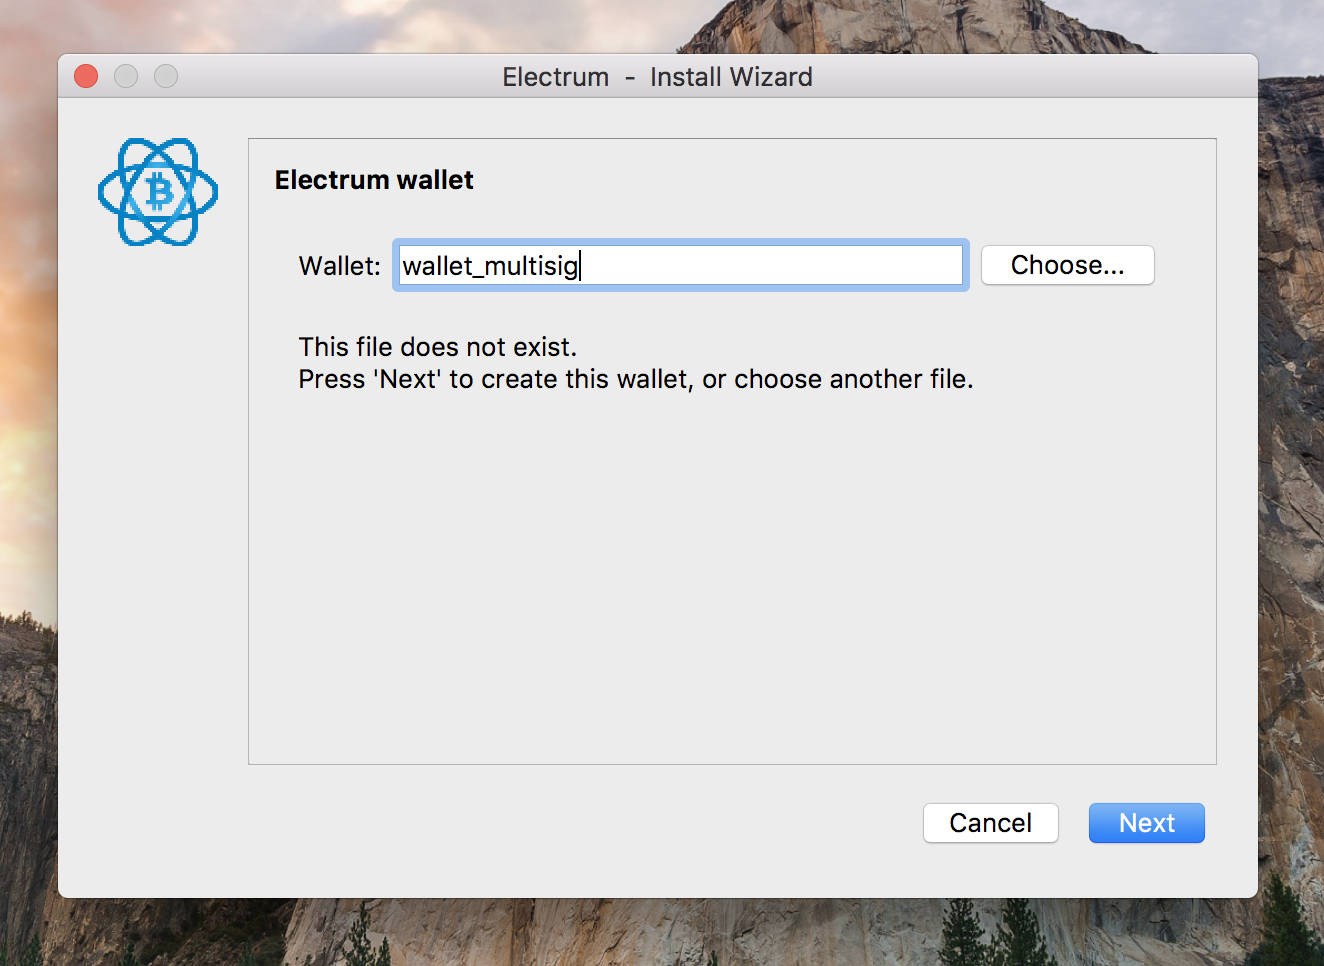
Choose the name for your wallet. Anything goes.
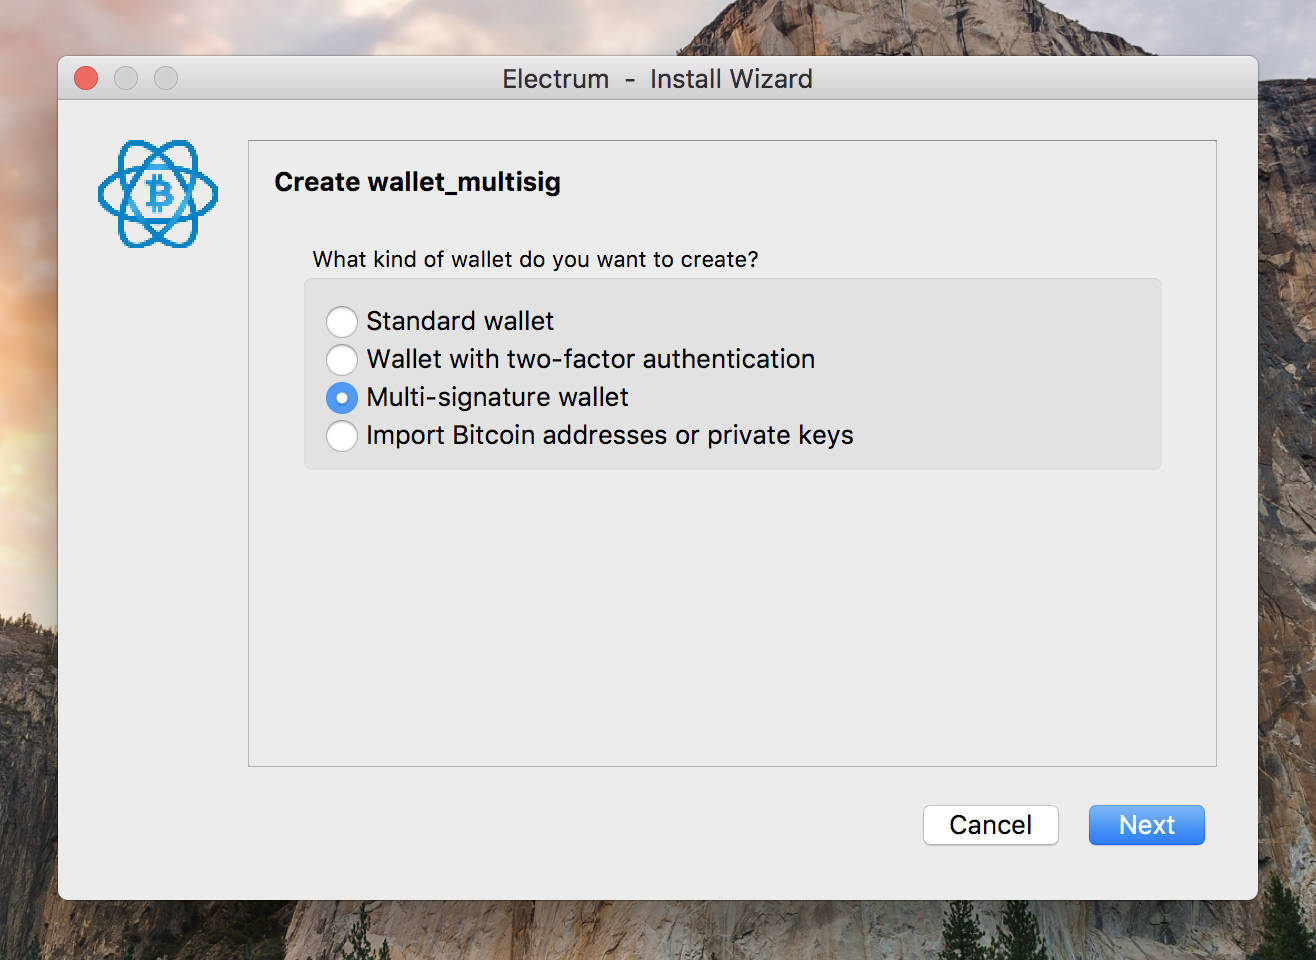
Select Multi-signature wallet and proceed to the next step.
Create your desired M-of-N multi-signature wallet.
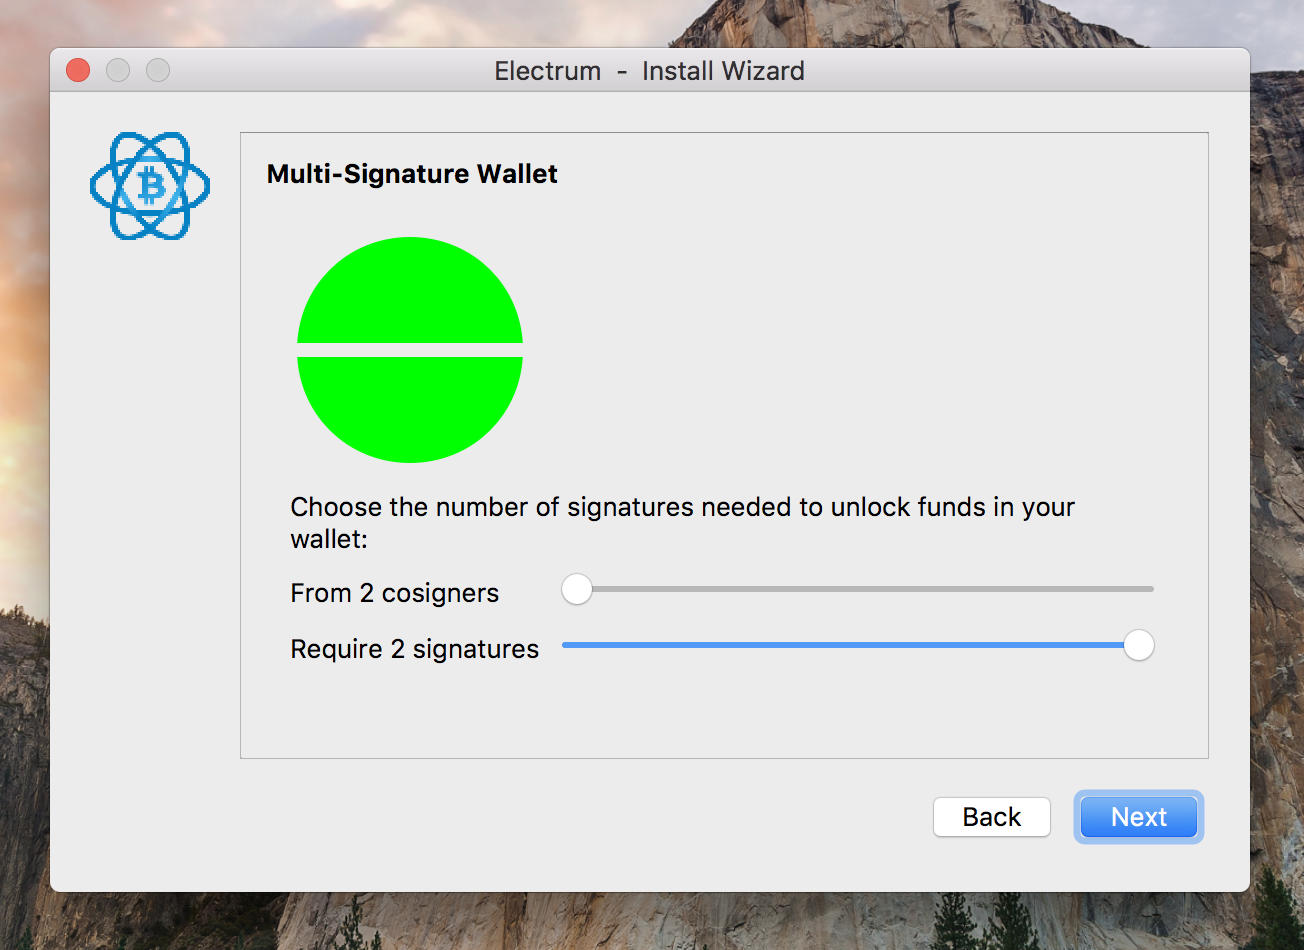
For the purpose of the tutorial, I went with 2-of-2 which means 2 signatures out of 2 are needed to spend funds.
Next, add the first cosigner.
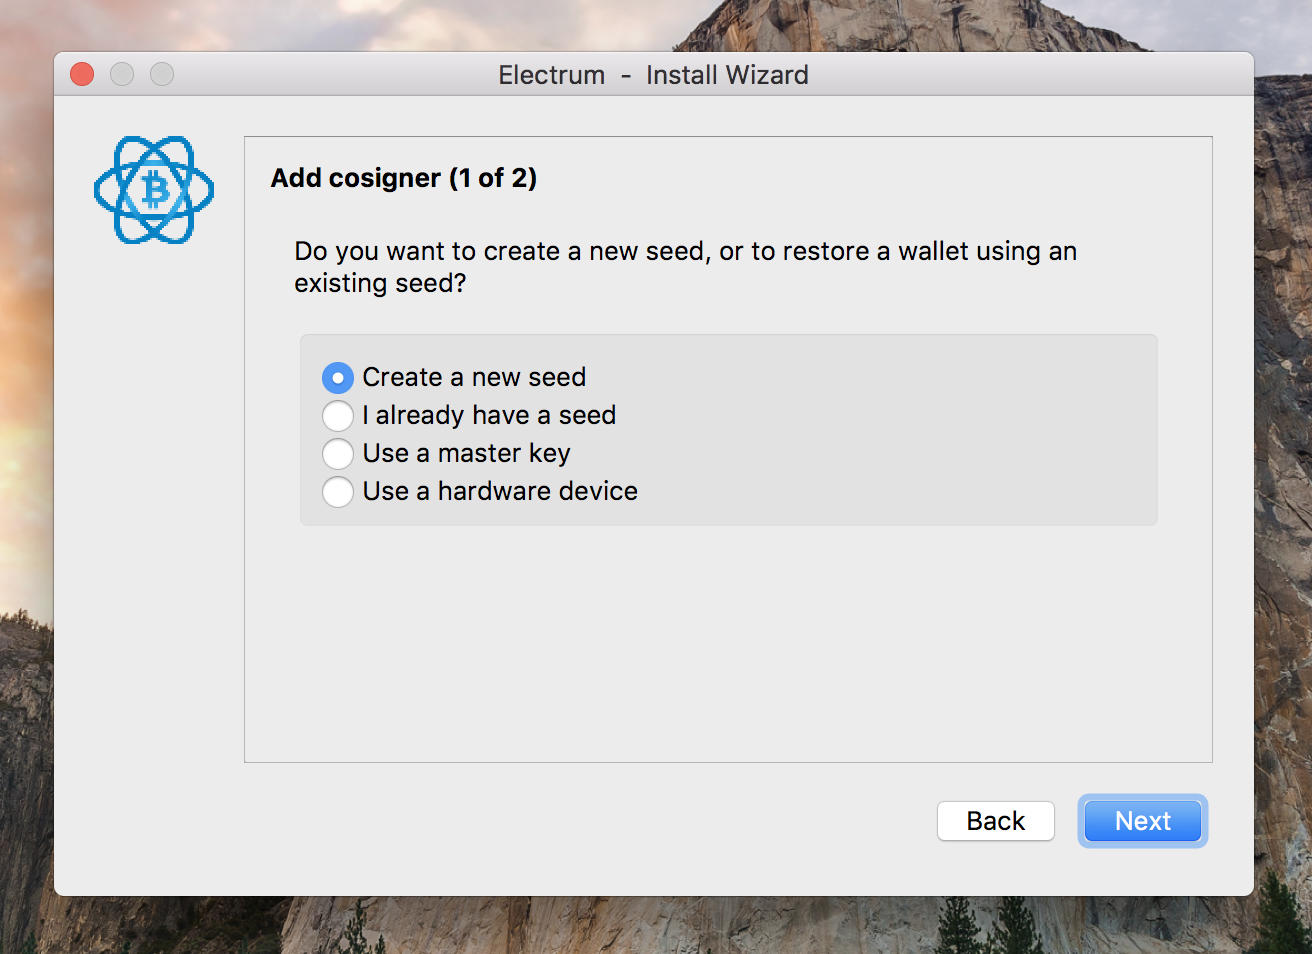
It can be an external wallet, but for the sake of simplicity let's create a new seed.
Choose seed type.
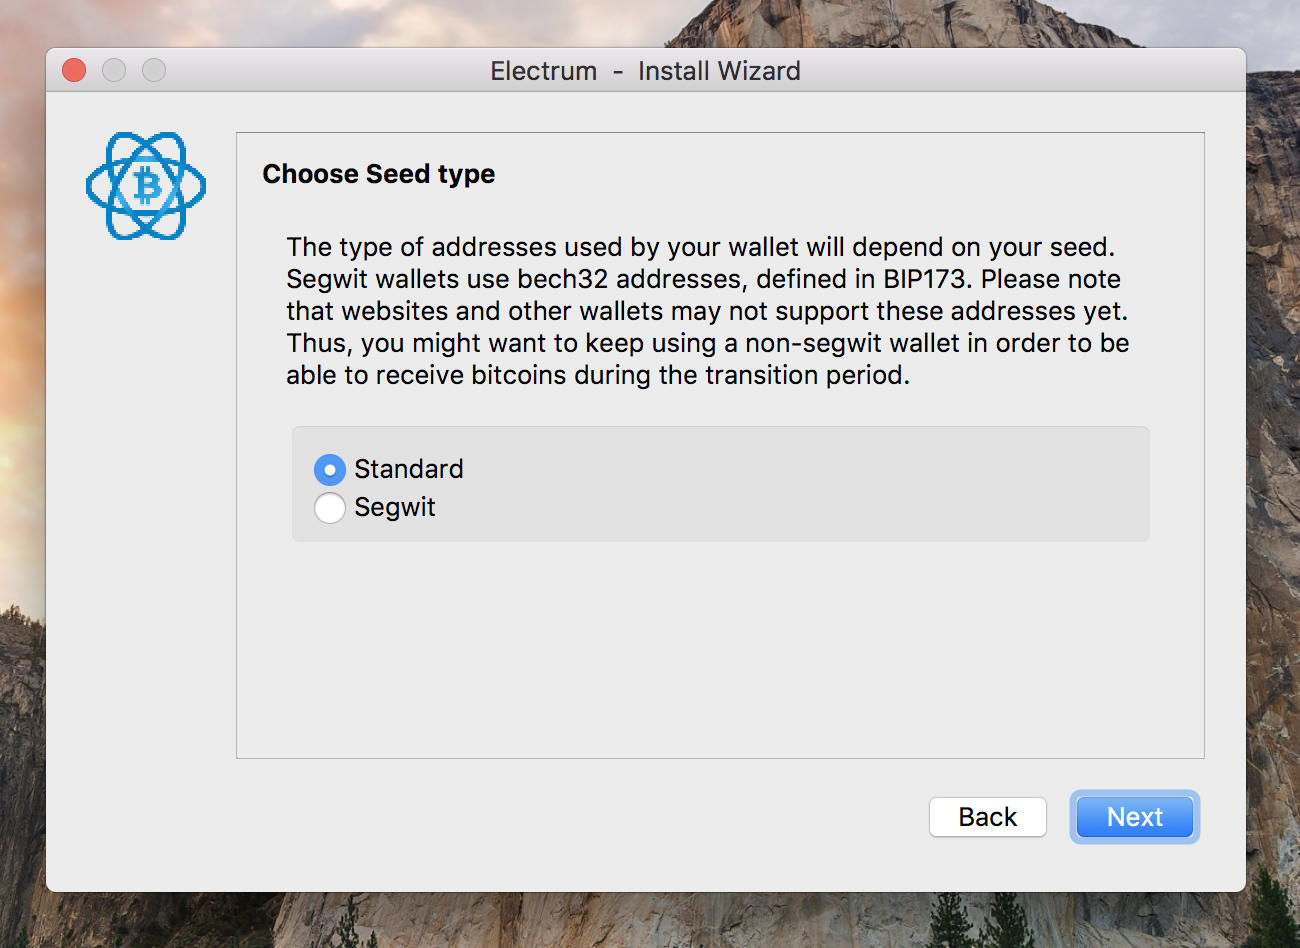
I went with Standard because I wasn't sure about the Segwit support in Electrum in combination with Trezor. It should work but I was too lazy to try.
You may copy the master public key for the future reference but you won't really need it in this case.
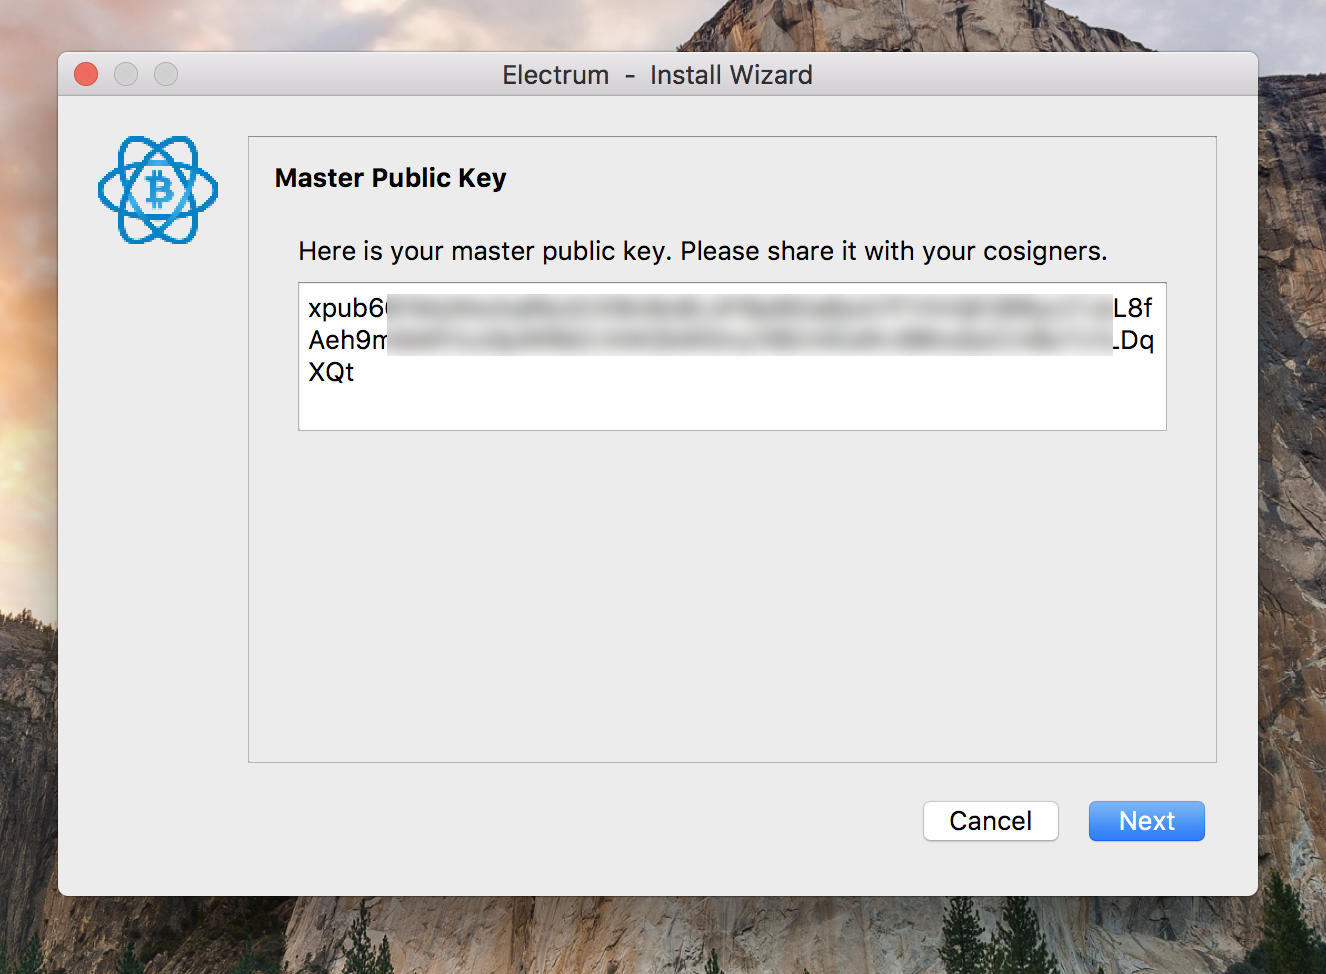
Add the second cosigner.
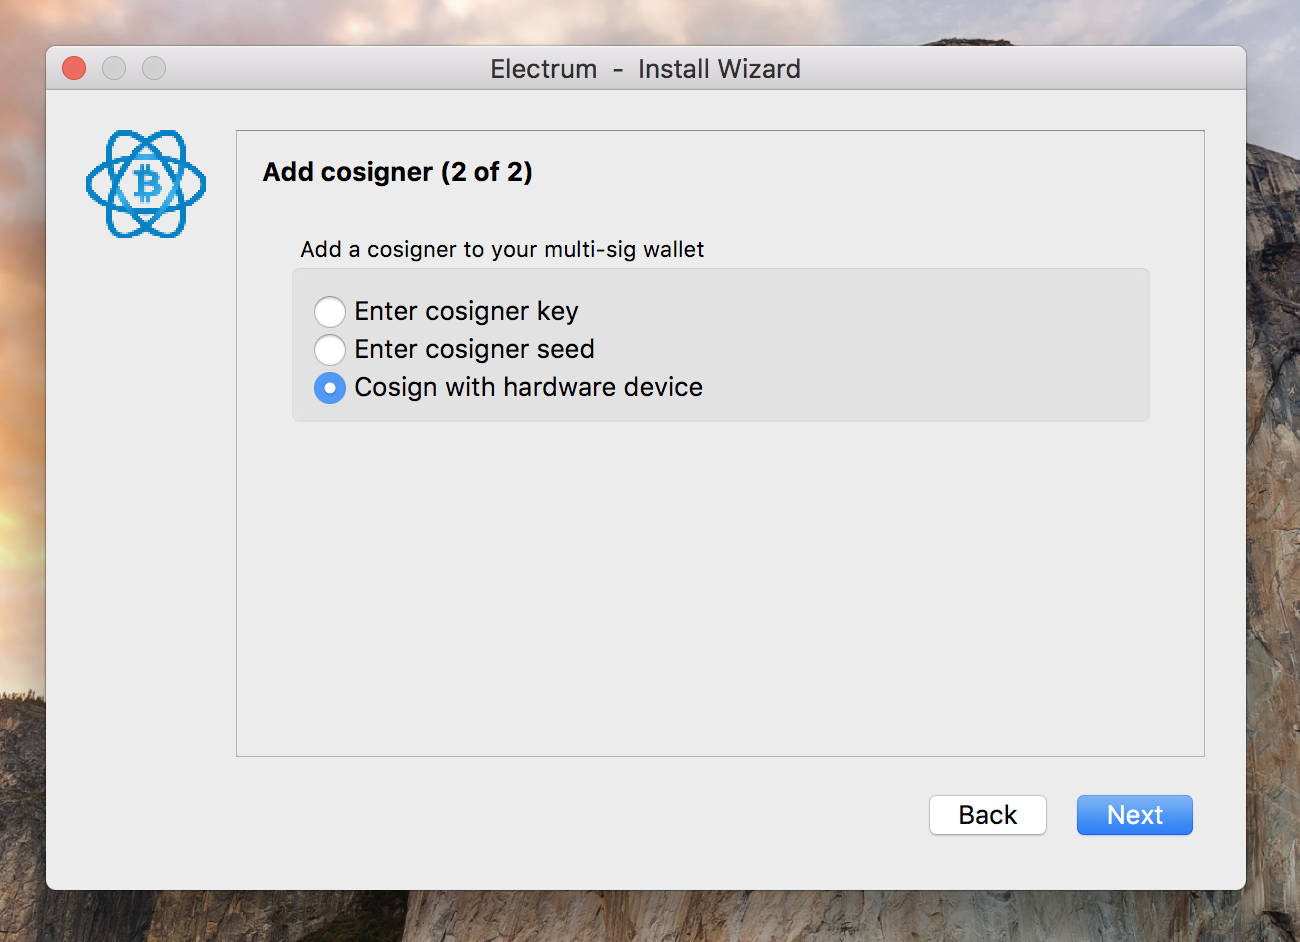
Connect your Trezor, choose Cosign with hardware device and go to the next step.
Make sure you see your Trezor device in the list.
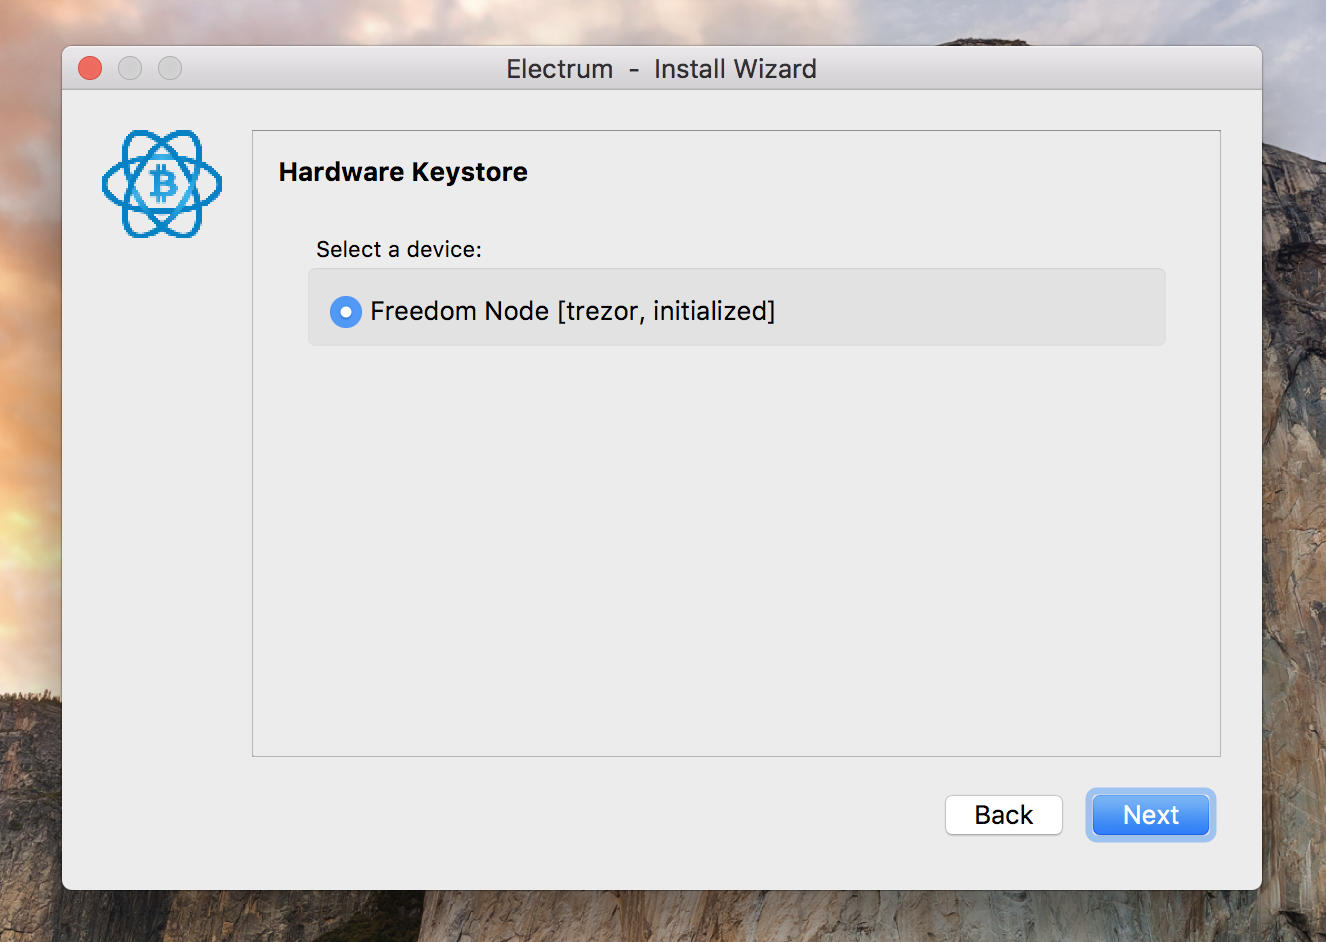
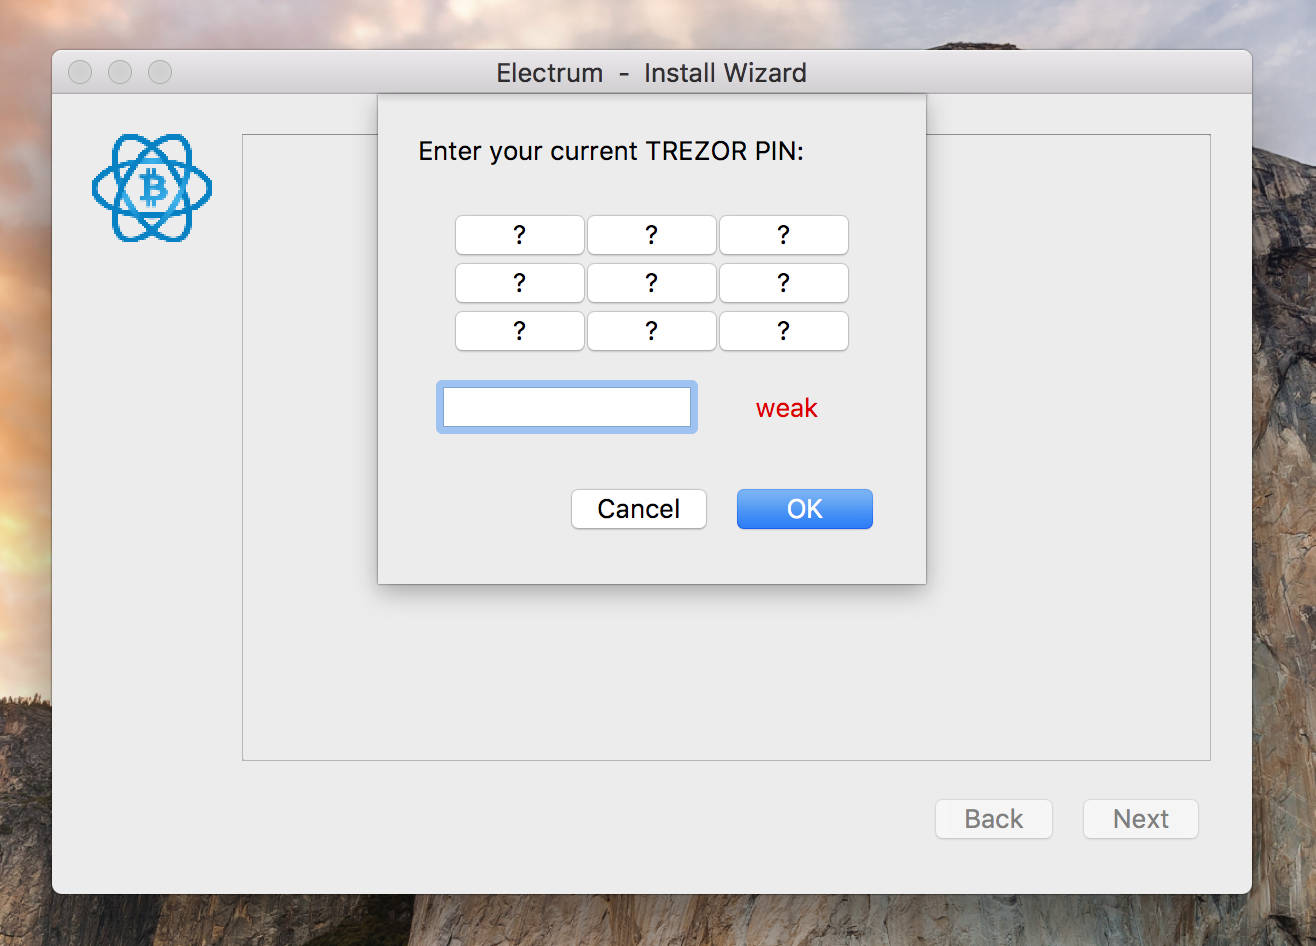
Enter the Trezor's PIN.
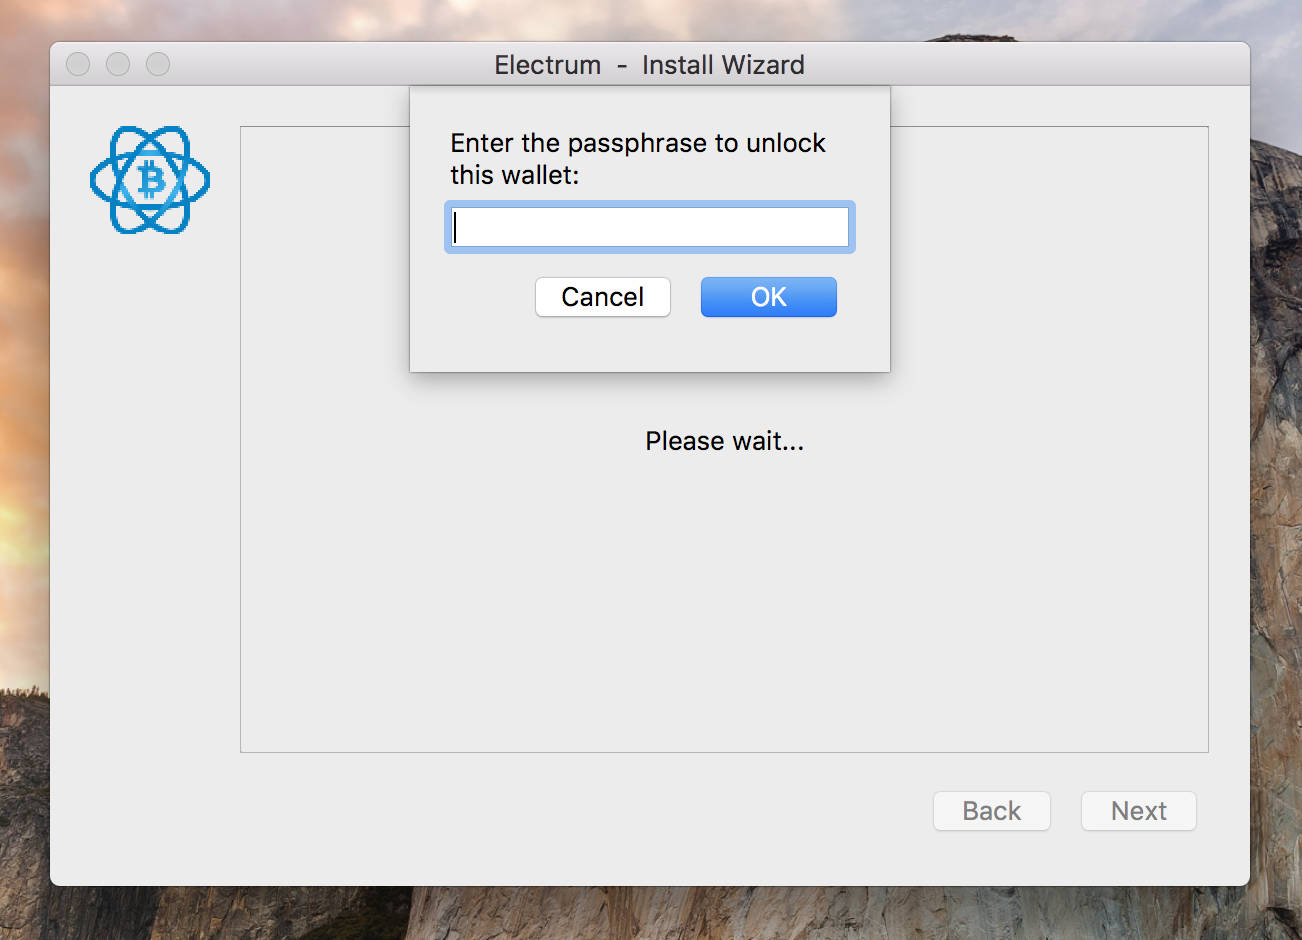
Unlock the wallet with a passphrase if you use one (I strongly recommend you use one).

Send funds to the multisig wallet
Copy the multi-signature's wallet address and send some test funds to it.
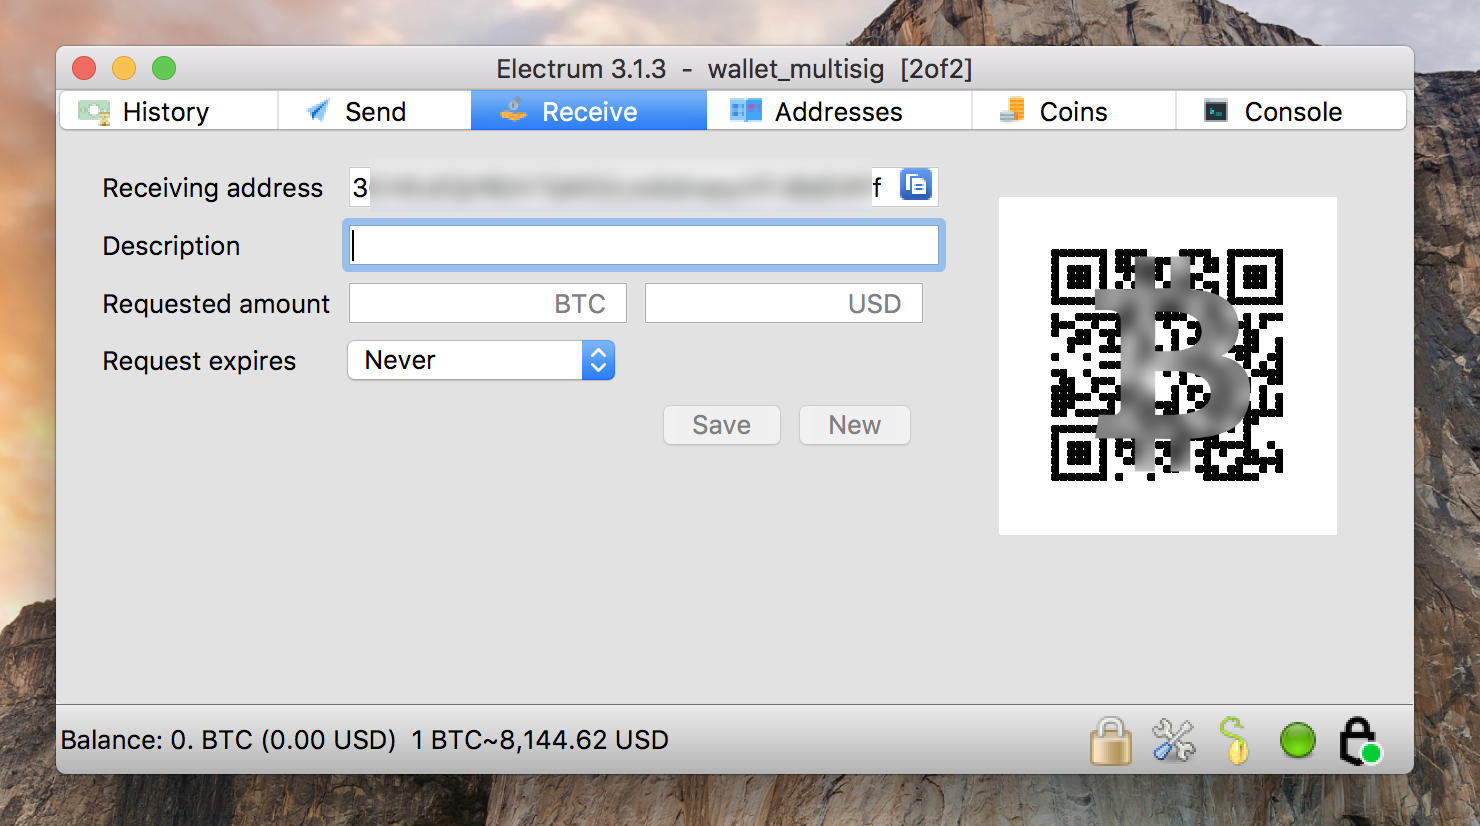
I used another Electrum wallet to make the transaction, but you can use any wallet you like.
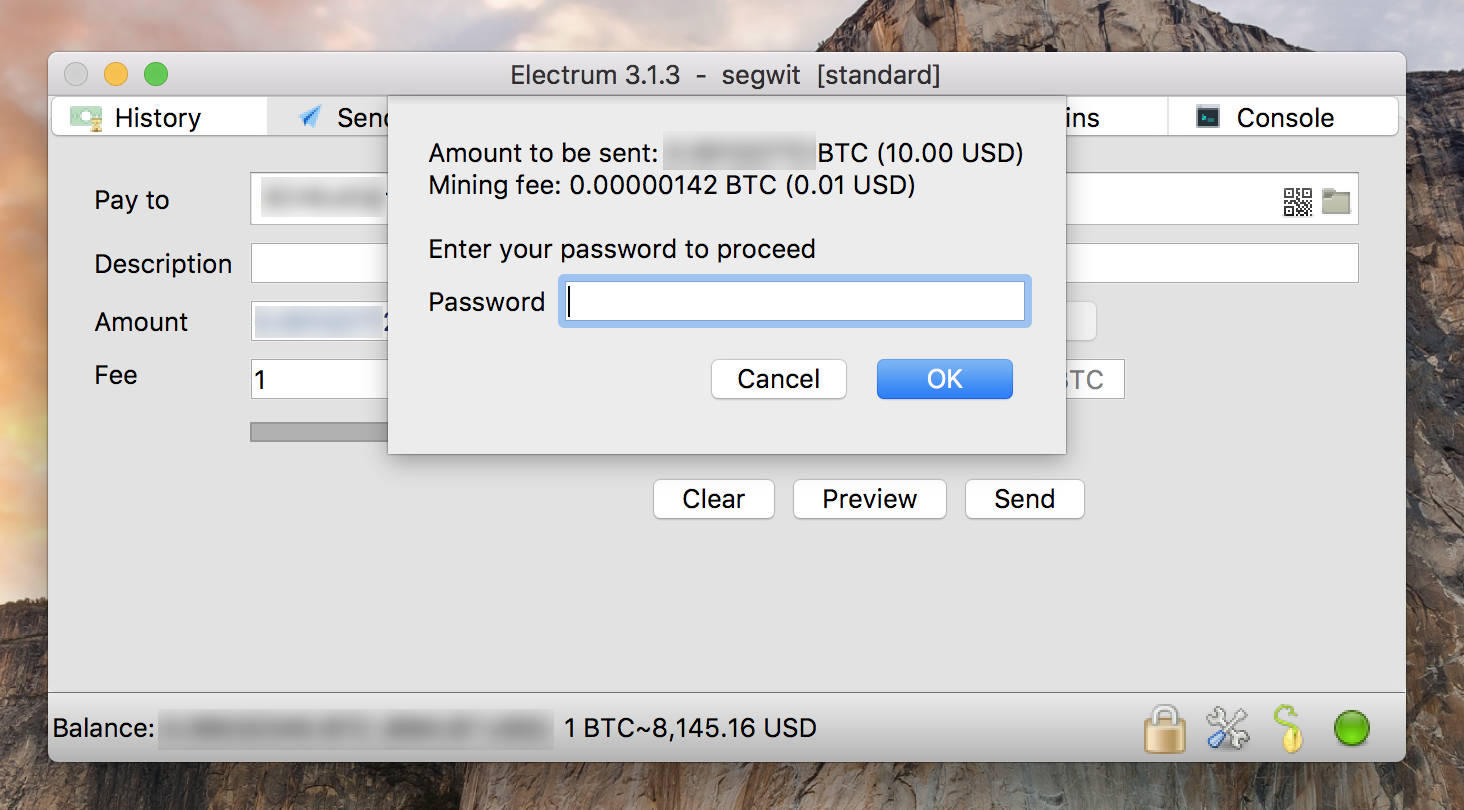
Sign the transaction and go back to the multisig wallet.
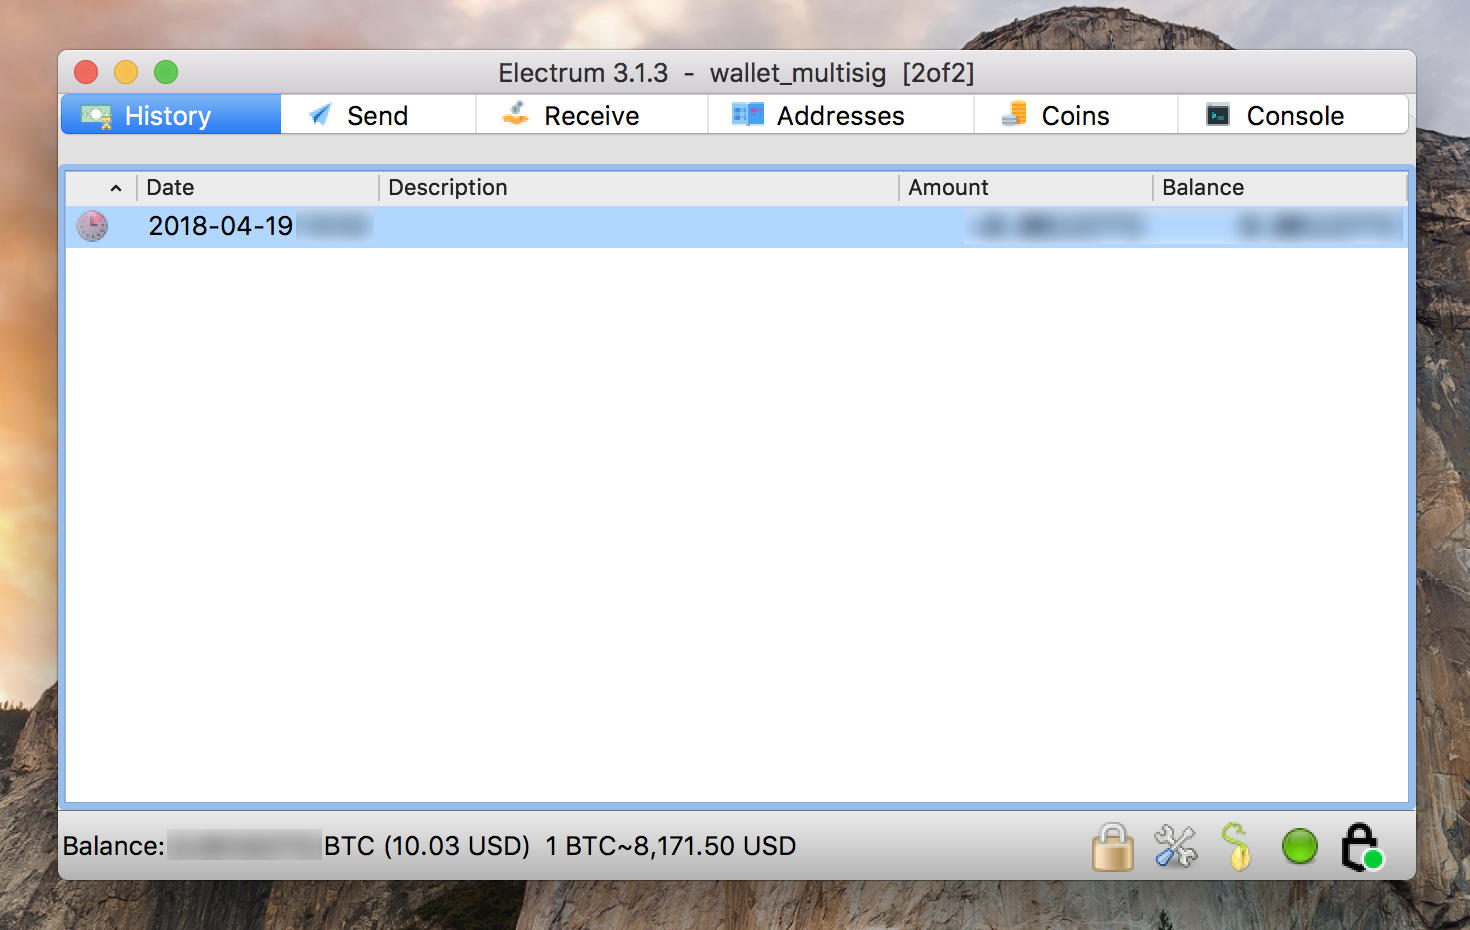
The transaction should confirm soon.
Spend from the multisig wallet and co-sign with Trezor
It's time to test whether you can spend from the multisig wallet.
Send the test funds to your ordinary wallet and sign with the first key (in my case encrypted by password).
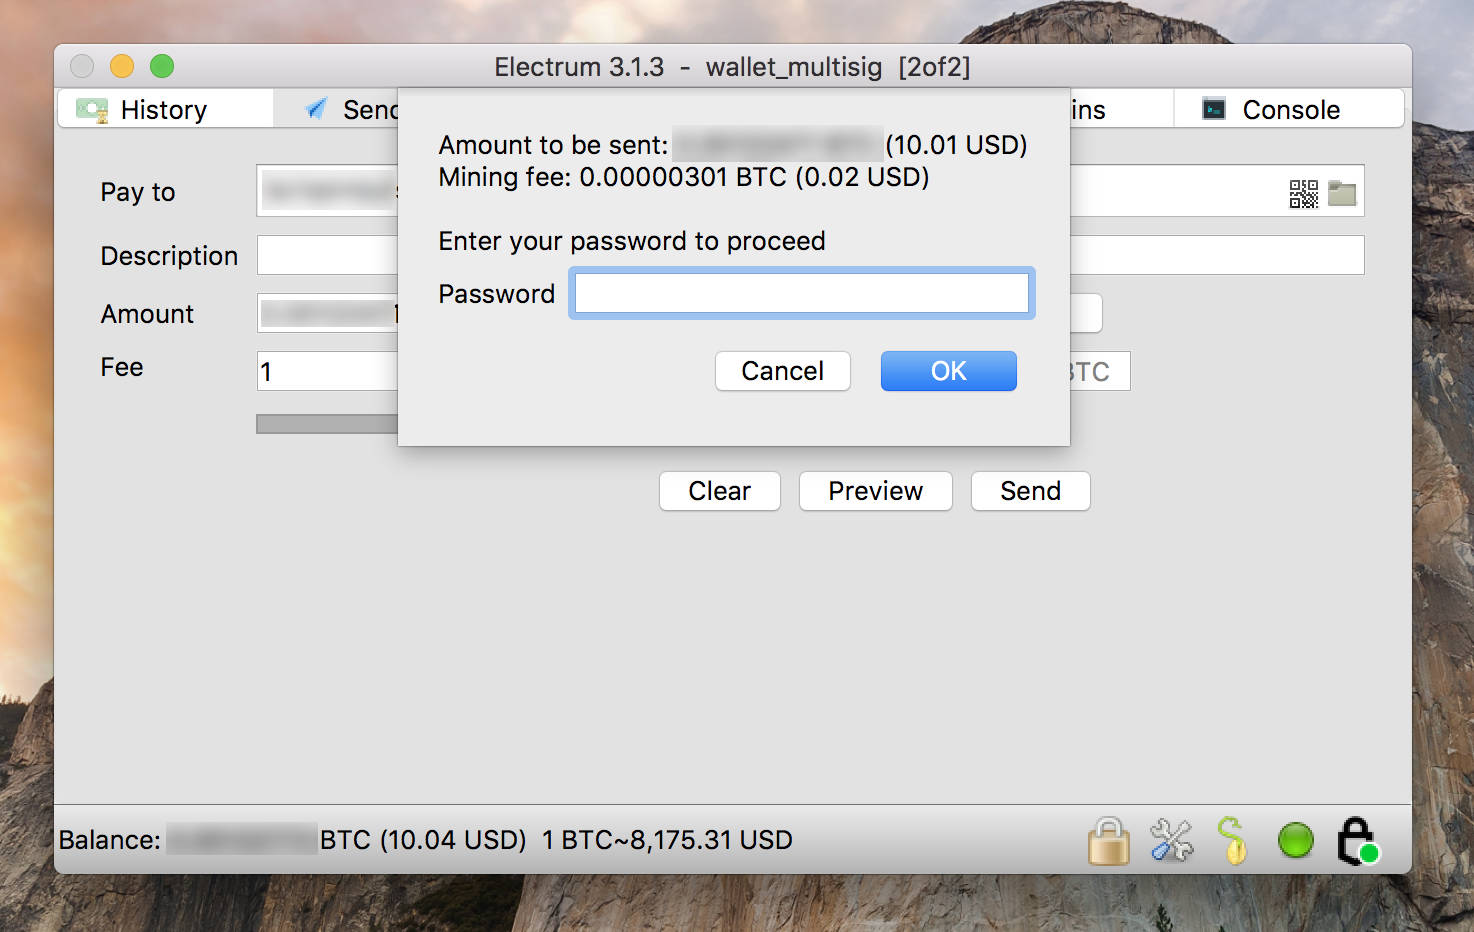
Enter your Trezor PIN.
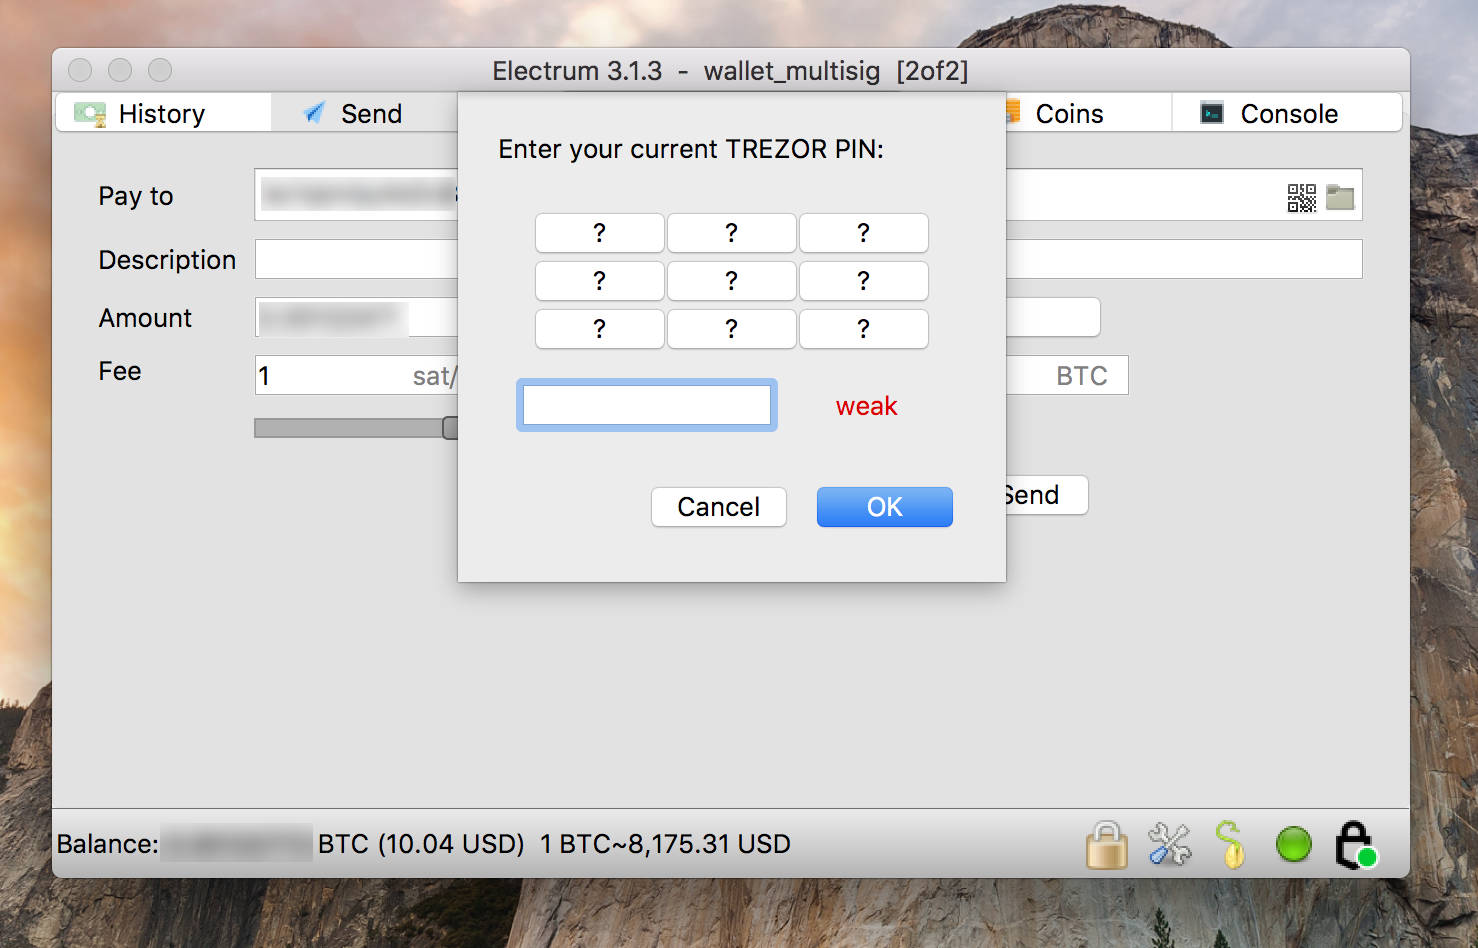
You should be familiar with this process from the Trezor's web wallet.
You'll be prompted for the passphrase if you use one (I do).
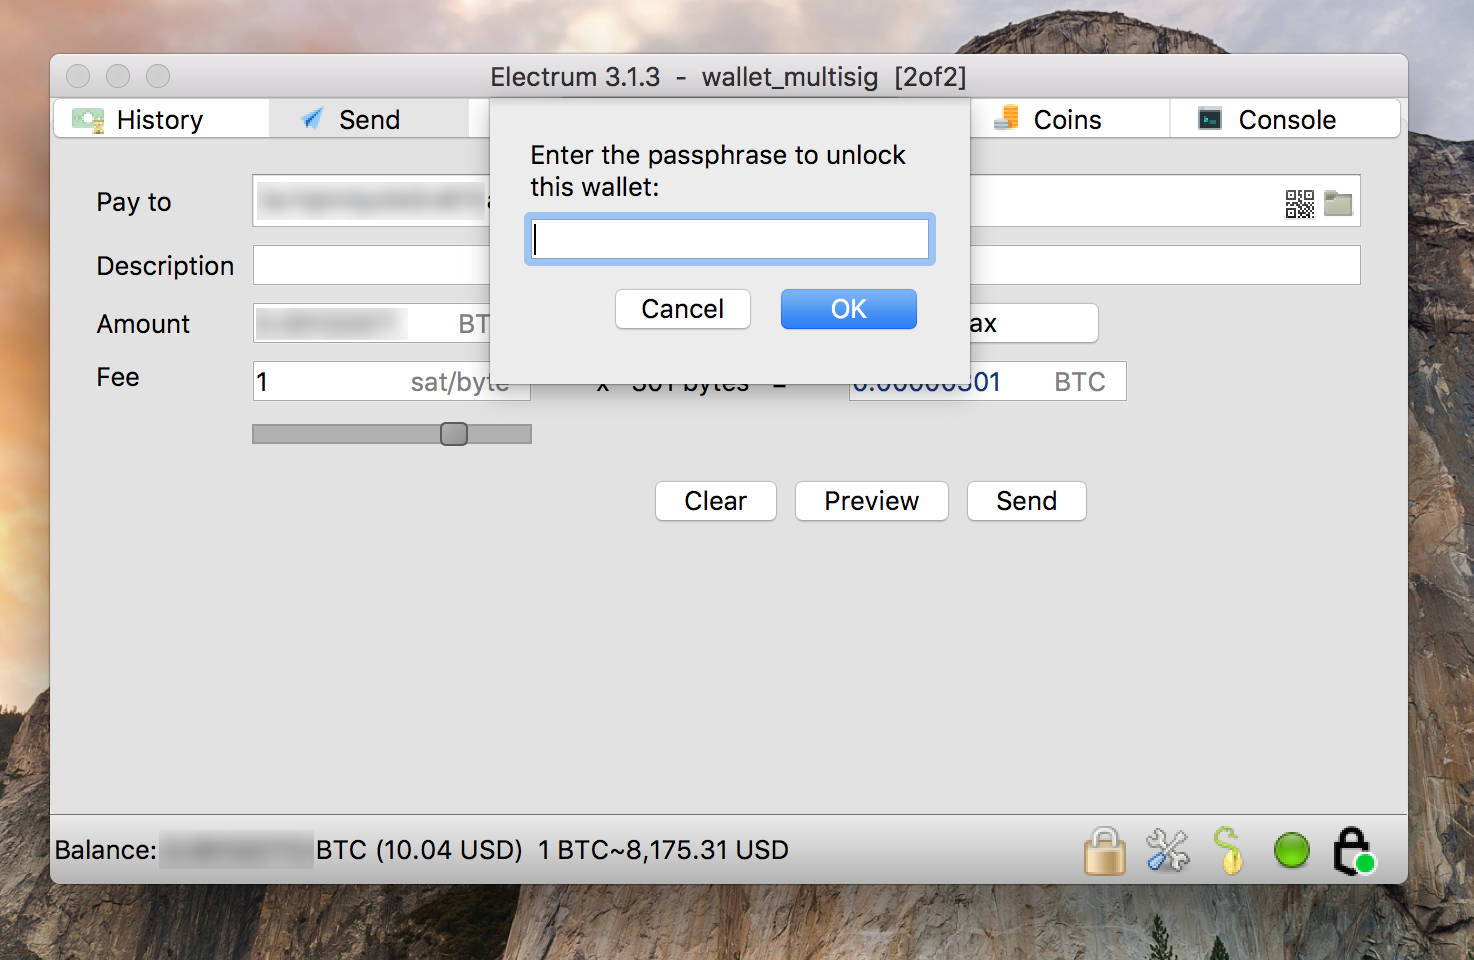
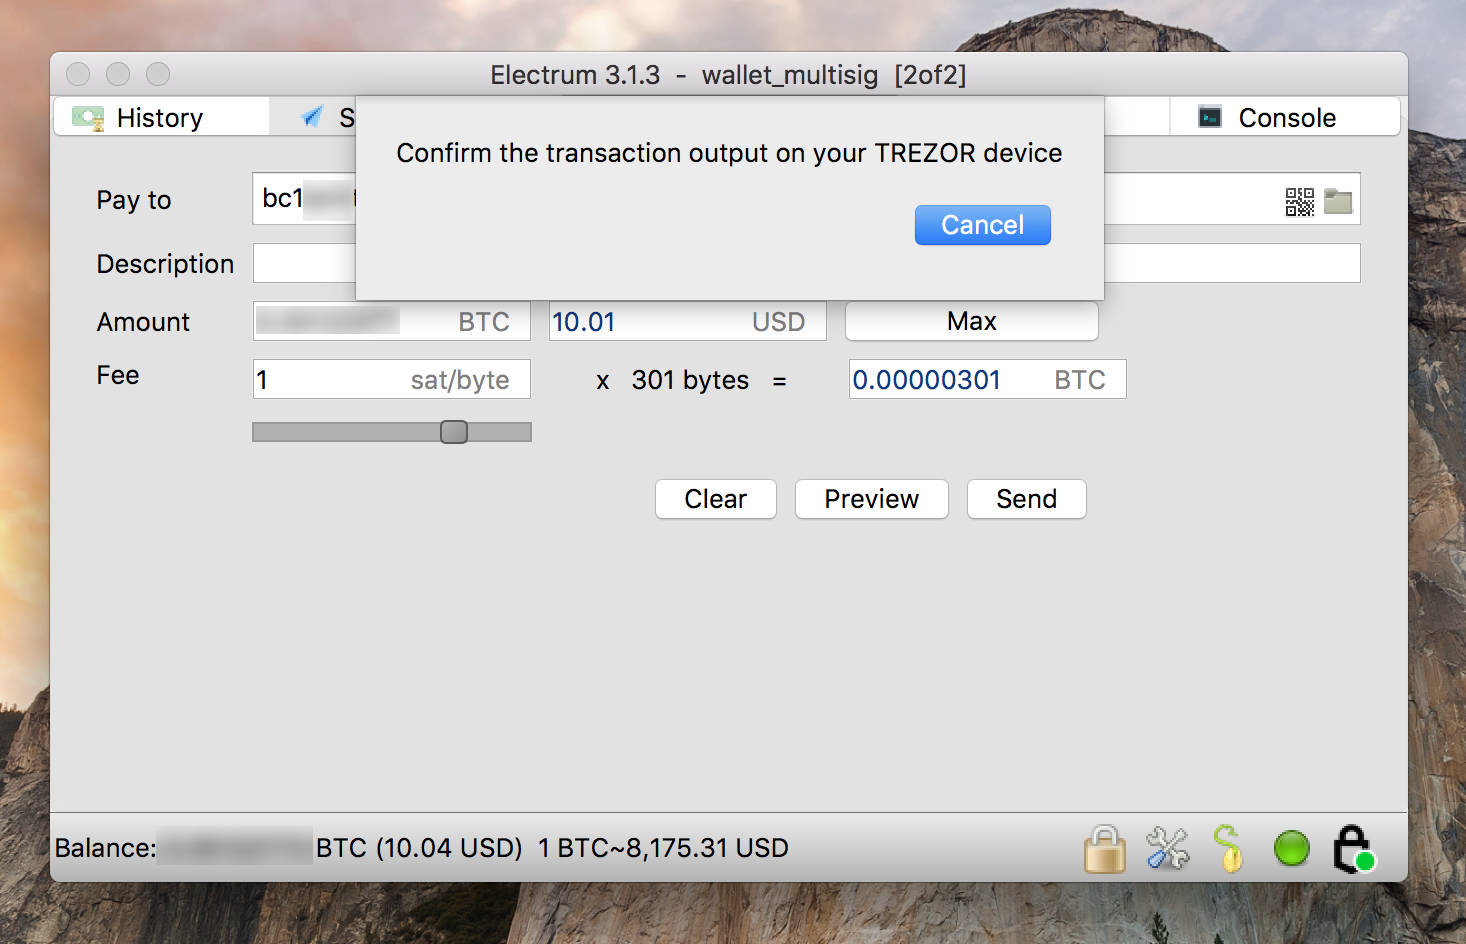
When the Trezor is unlocked it's time to confirm the transaction output.
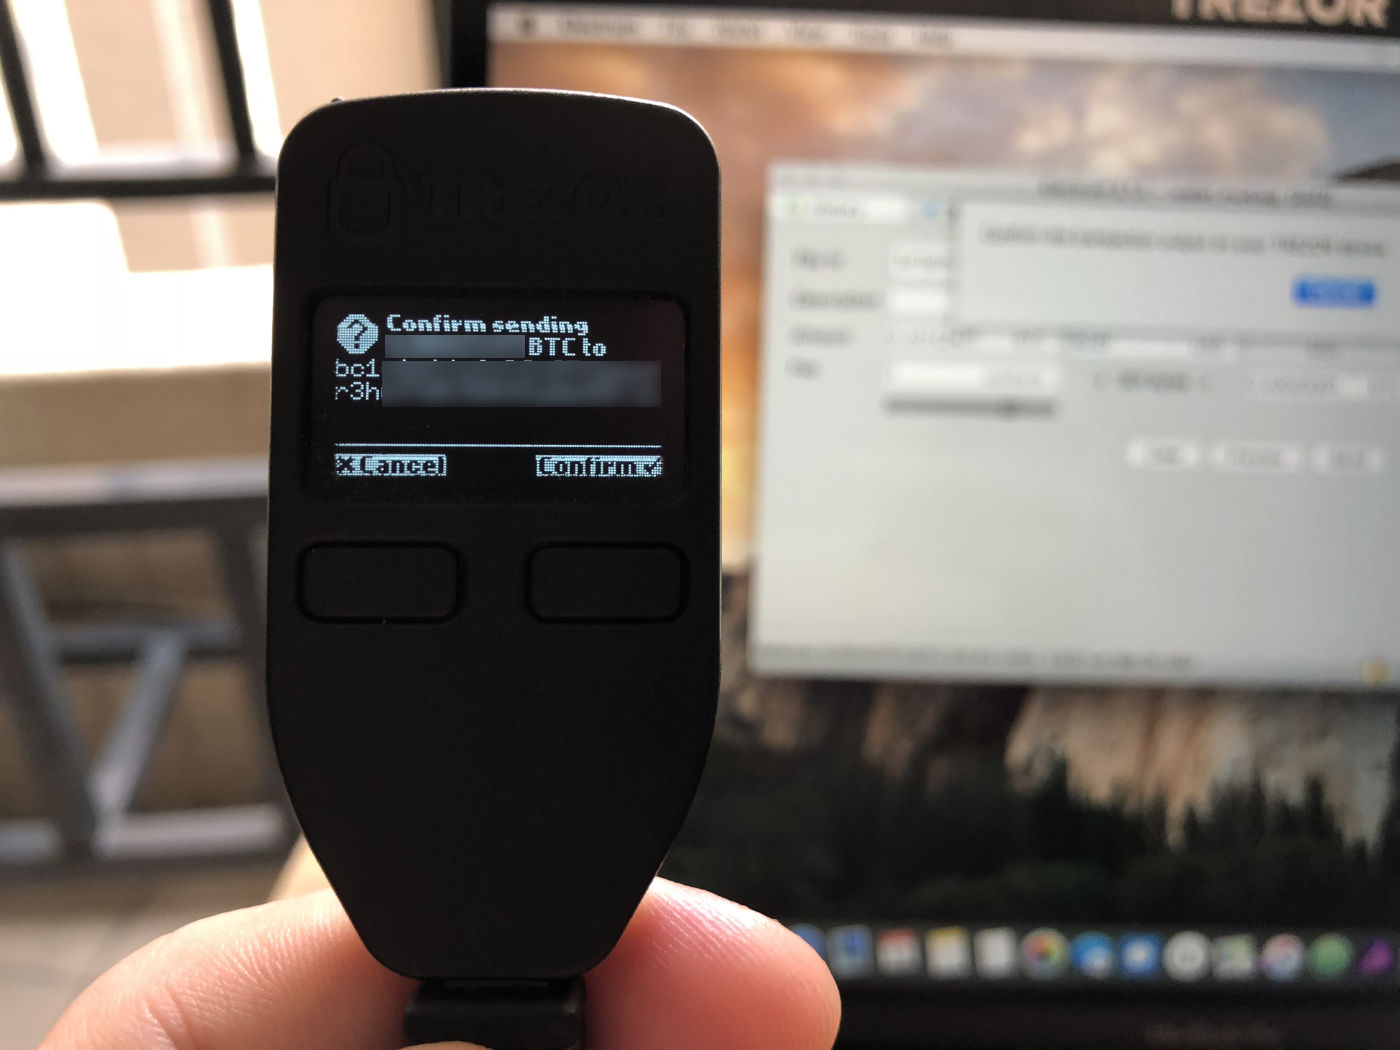
Make sure the intended address is displayed on your Trezor and click Confirm.
Next, you'll have to confirm the transaction amount and fee.
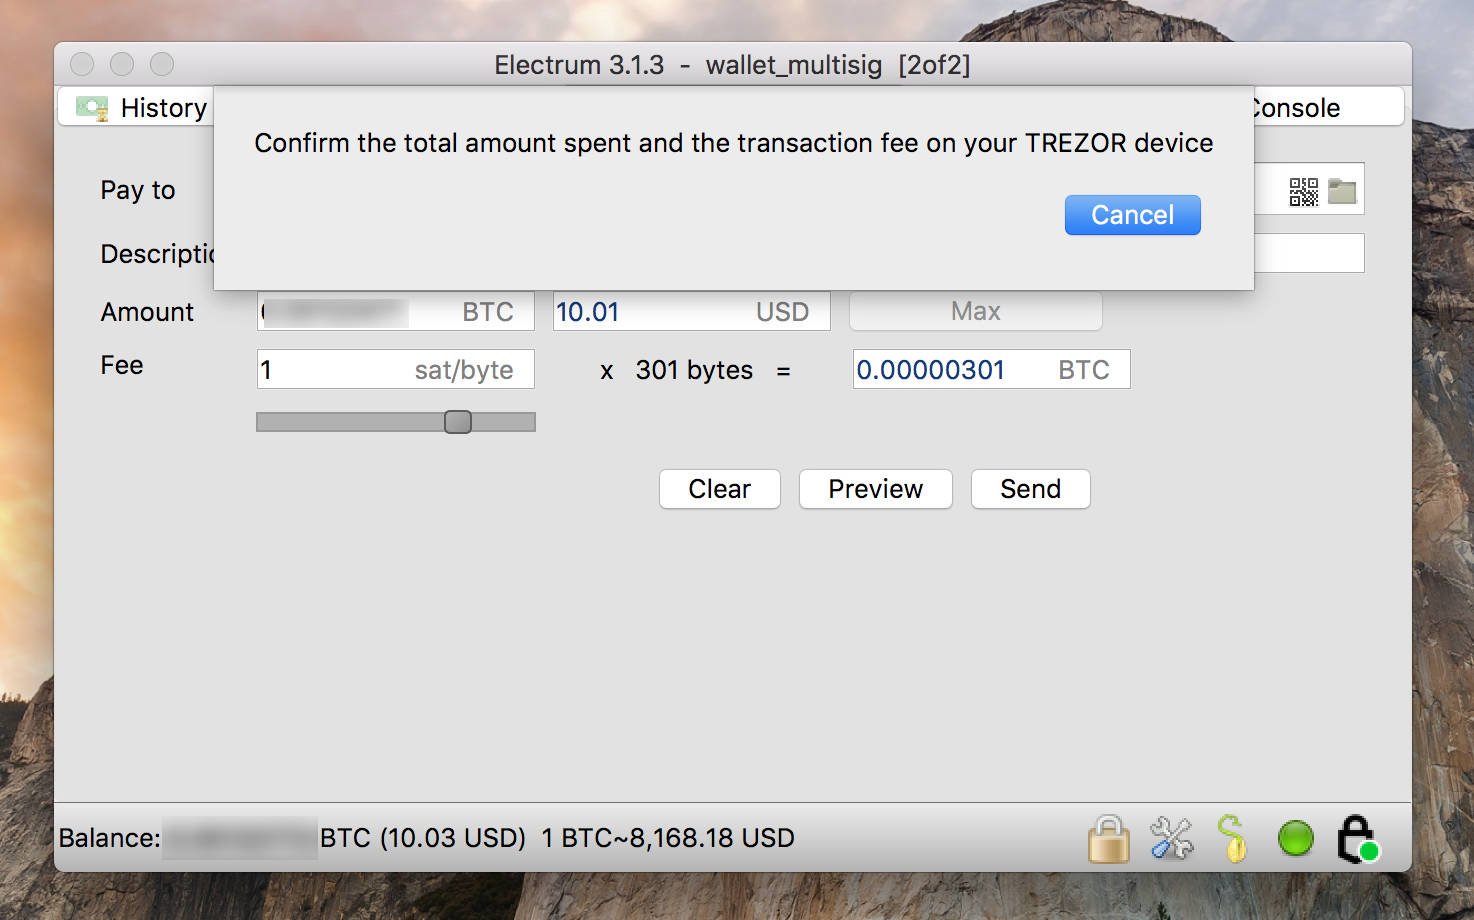
Click Confirm on the Trezor if it looks legit.
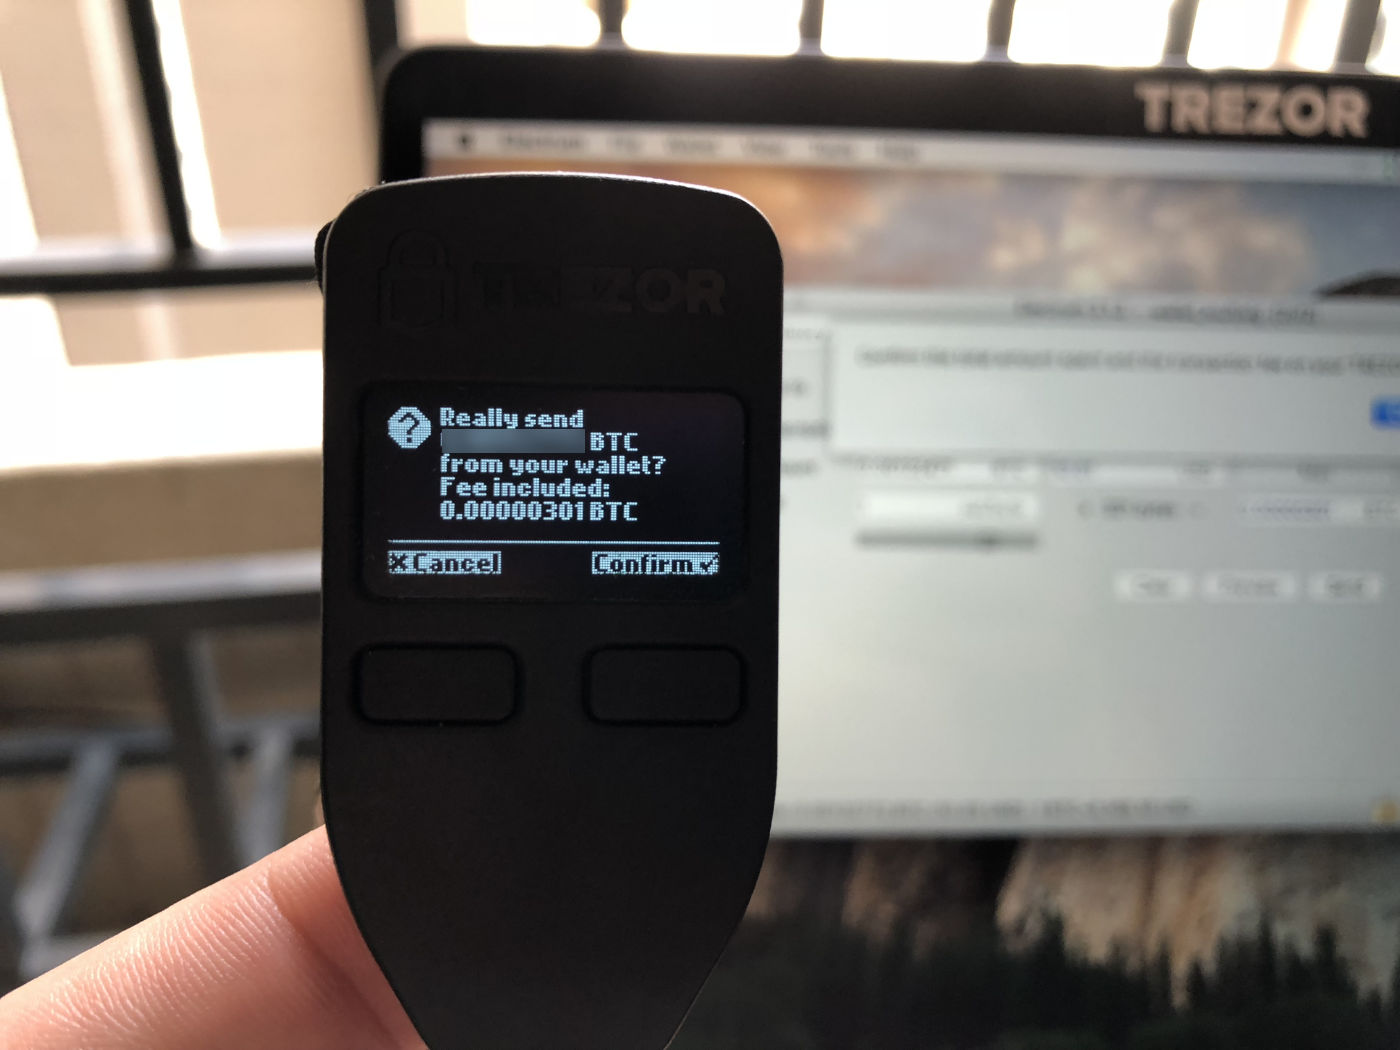
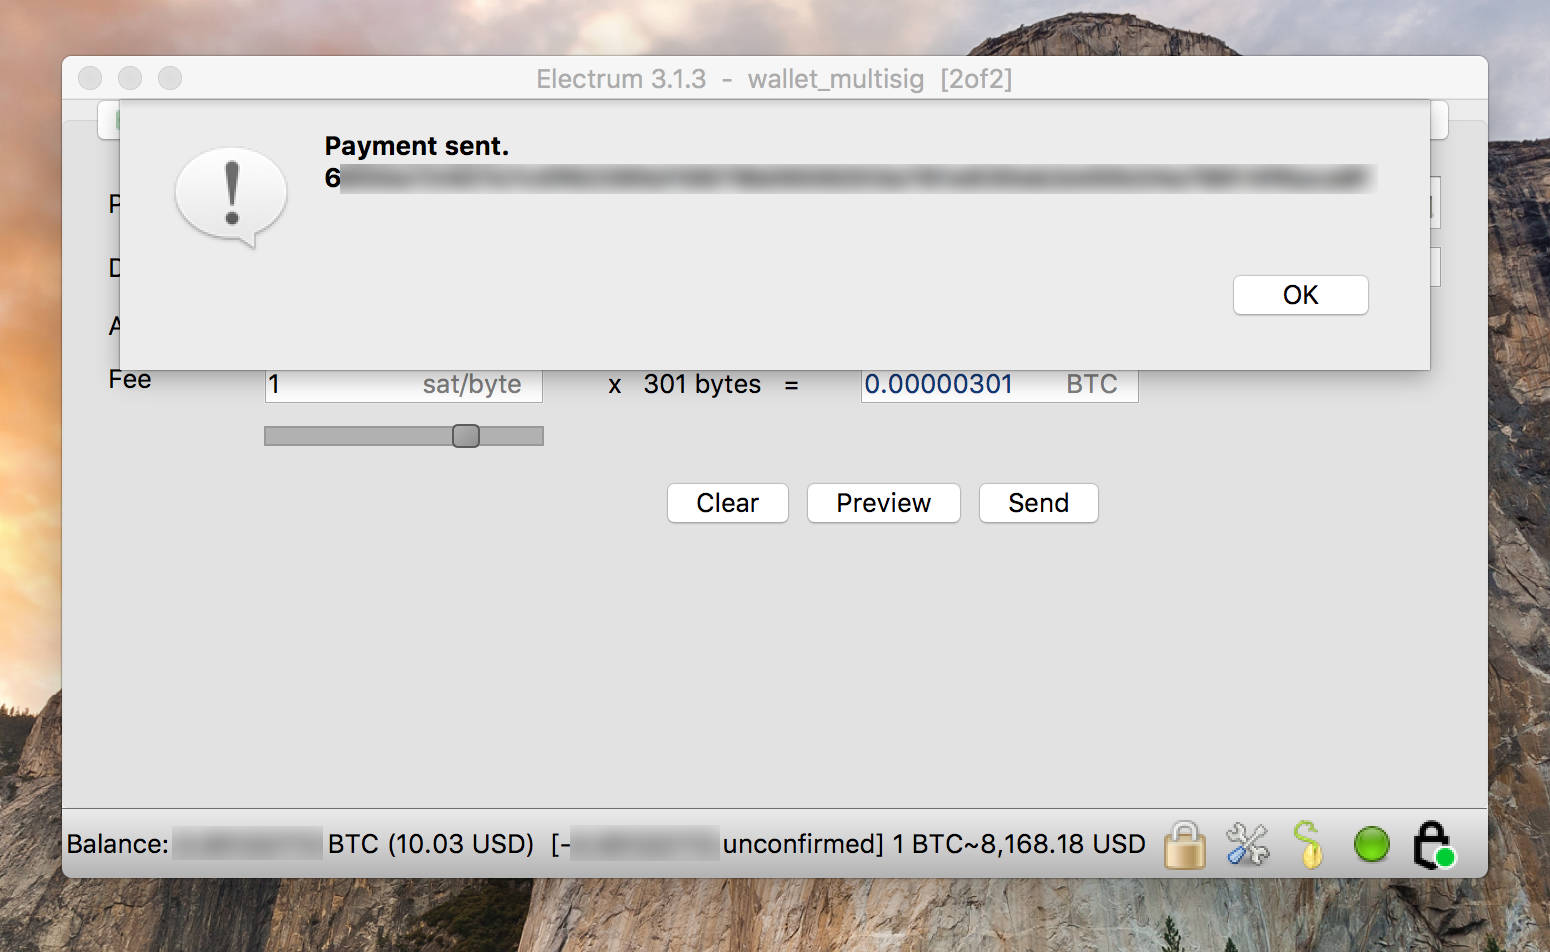
The second key will cosign the transaction and Electrum will broadcast it on the network.
Go back to your regular wallet.
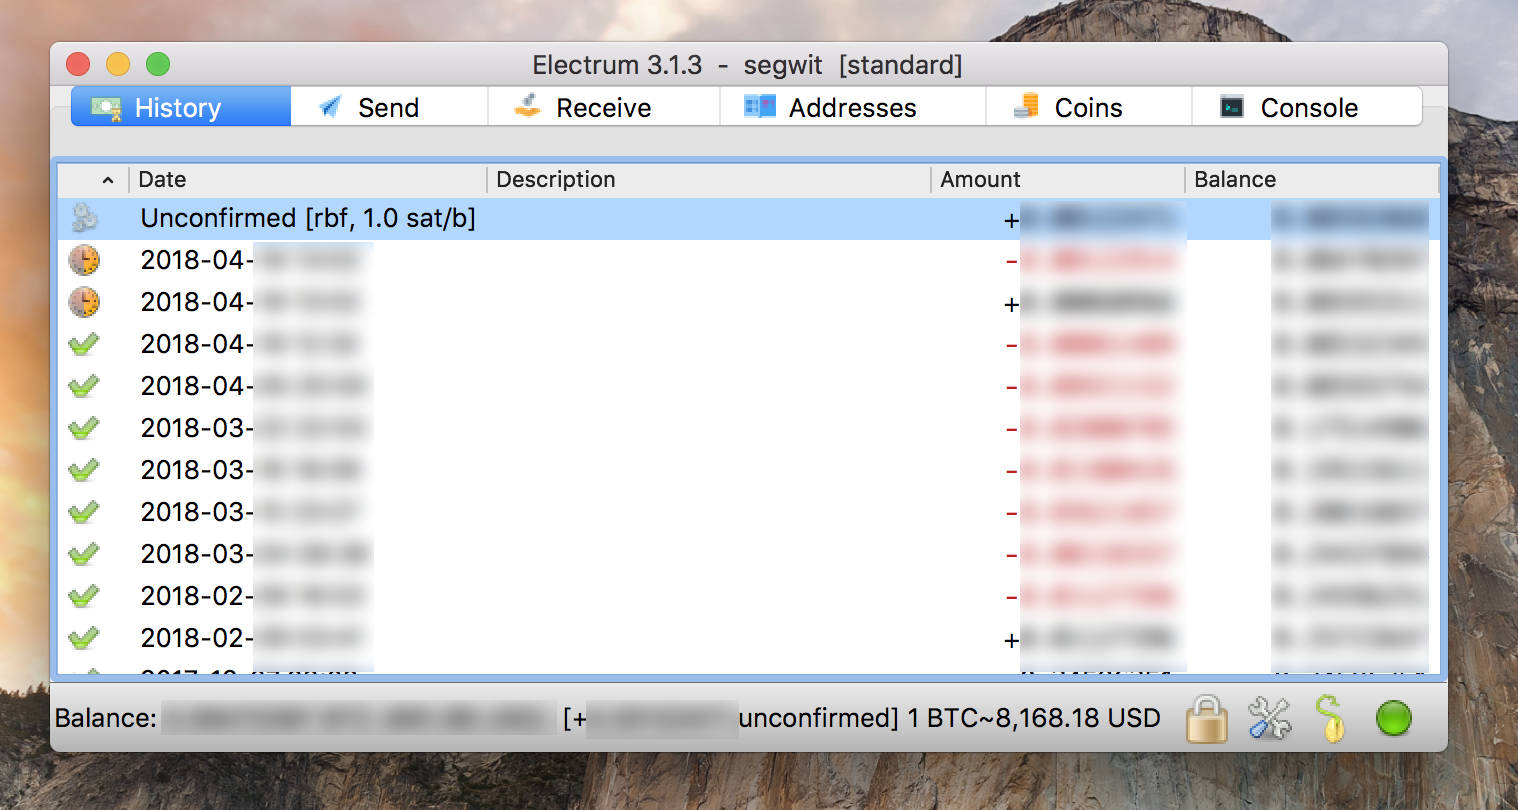
You should see the new incoming transaction that should confirm soon.
Trezor One
The very first Bitcoin hardware wallet ever created. Own a piece of history in different colors.
Multisig is a powerful method of utilizing Bitcoin scripts.
It adds extra protection to your coins and with MAST, it will even become more scalable and private as many different conditions can be defined for the same output.
Together with Trezor, a multi-signature environment is easy to set up and use.
Just make sure you never lose access to your Trezor because you won't be able to spend those coins.


