
How to Build a Mining Rig? Step by Step Guide
Mining is one of the ways through which you can get yourself some of the valuable cryptocurrencies out there.
With the right equipment, this venture can actually be profitable.
Let’s look at a step by step guide on how you can build a mining rig to help you start mining coins.
What is a mining rig?
Mining rigs are simply powerful computer systems set up to carry out mining of a cryptocurrency.
A rig could be a specialized and dedicated system that is used for mining or otherwise be meant for other operations like gaming and be utilized for mining when needed.
How does a mining rig work?
A mining rig works by using the mining software on a miner to hook the mining hardware to a given mining pool.
The mining rig points the rig’s hash rate at the pool before participating in the process of securing and completing transactions on the network.
You get rewarded when your rig helps the pool add a block to the blockchain.
What are the different types of mining rigs?
#1 CPU mining
This is the process of mining crypto using a CPU processor to perform the computational algorithms to solve blocks. However, it is no longer widely used.
What are the pros and cons of CPU mining?
Pros
- The CPU mining rig is inexpensive since it can be done with an ordinary PC.
- You can mine other newer altcoins with CPU easily.
Cons
- It is the slowest form of mining; almost obsolete.
- Low hash rate.
- It’s not profitable because it’s slow.
#2 GPU mining
GPU mining rig involves the use of graphics card to complete the mining process in a network. It is used more widely for bitcoin mining than with CPU.
What are the pros and cons of GPU mining?
Pros
- Higher hashing power compared to CPU.
- Useful in mining a wide variety of cryptocurrencies that have different hashing algorithms.
- Profitable when done properly.
Cons
- Quite expensive.
What to consider when building a mining rig?
Consider the following when building your own mining rig.
#1 Hash rate
Hash rate refers to the total number of calculations that the mining hardware can handle every second when the mining process is on.
We measure hash rates in terms of their megahashes (MH/s), gigahashes (GH/s), and terahashes (TH/s) per second.
In mining, the higher your hash rate, the more it is likely that you may end up successful in getting a transaction secured and verified.
This means a higher chance of getting an ROI.
#2 Energy consumption
Cryptocurrency mining consumes huge amounts of power and therefore, the cost of electricity is always higher. Beware of how much that given to set up will consume vs. the expected ROI.
To be on the safe side, look at the hardware’s power consumption in watts before making a purchase.
To find out your hardware’s energy consumption, take the hash rate figure and divide it by the wattage of that hardware.
#3 Hardware prices
It is good to consider the prices of the hardware equipment you are going to use.
The cost to put up the rig should be proportional to the expected profits. Check the market for cost-effective tools that give you performance and yet are not too expensive.
You can use Amazon or BestBuy as a reference.
#4 Maintenance
Maintenance is a key component if you want to get the best out of your DIY assembled mining rig.
As you set up the rig, consider the maintenance costs, the frequency of doing so and how that can be effectively done to ensure you have an output equivalent to the costs.
Things like the cooling system need frequent checks, so consider getting one that won’t bog you down with constant failure.

Cryptocurrencies – Hack your way to a better life
"In a world of centralized currency, new coins go to whoever the money printer (central bank, commercial banks or the state) choses as a recipient of those coins. In a world of decentralized currency, we want the distribution to be fair, so Satoshi Nakamoto, the creator of Bitcoin, invented mining."
How to build a mining rig?
How to build a mining rig may appear a daunting task at first but once you get everything you need, you will find it much easier than you initially thought.
And therefore, the very first thing is to assemble everything you will need so as to save yourself the hassle of running up and down trying to locate this or that.
It is also important to be accessible to:
- Reliable electricity supply.
- Ethernet (wireless can do, but Ethernet is the best).
Here is what you need to start with:
Motherboard
A motherboard is simply that big flat component of your computer that everything else plugs into. Whatever device you choose must be compatible with the MOBO.
The motherboard will determine the kind of CPU to use, the number of GPUs you can add, and memory limit.
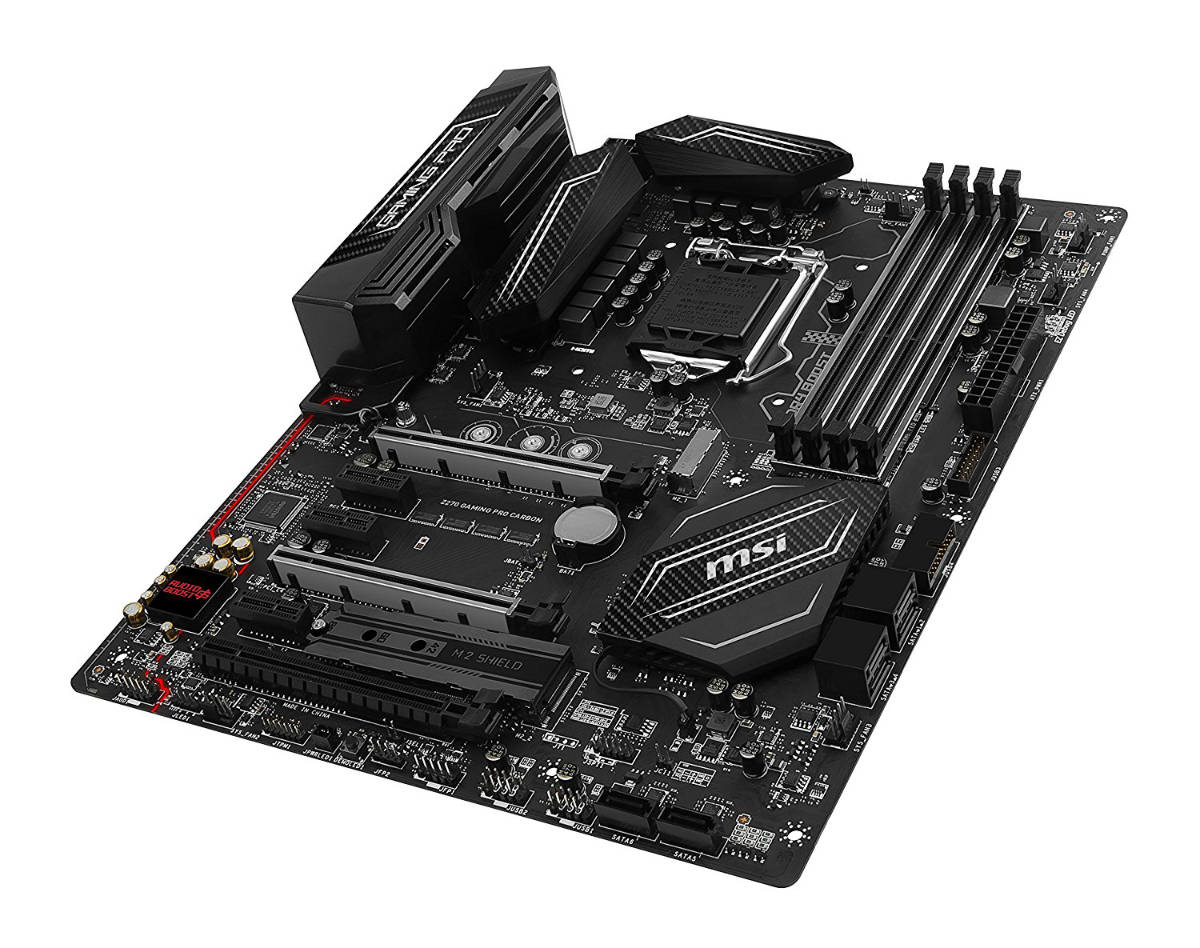
To check if the CPU and your MOBO are compatible, use the Part Picker tool for PCs. A good MOBO for mining rigs should have the capacity for at least 6 GPUs.
One of the best MOBOs out there is the MSI Z270 Gaming Pro Carbon.
Cooling
Another very significant factor to consider is where you want to put up your rig. This is important because we want to have our rig in a well-ventilated place that would aid in cooling the rig. It is important to keep your GPU rigs in a cool area because they tend to overheat.
The GPU should have an optimal temperature to operate in.
Cooler rigs will have a better output which is our aim. So you should use AC, air duct boosters or oscillating fans to keep the room cool.
Graphics card
You will, of course, need a graphics card (or many of them) which is the main component that will be solving difficult mining problems.
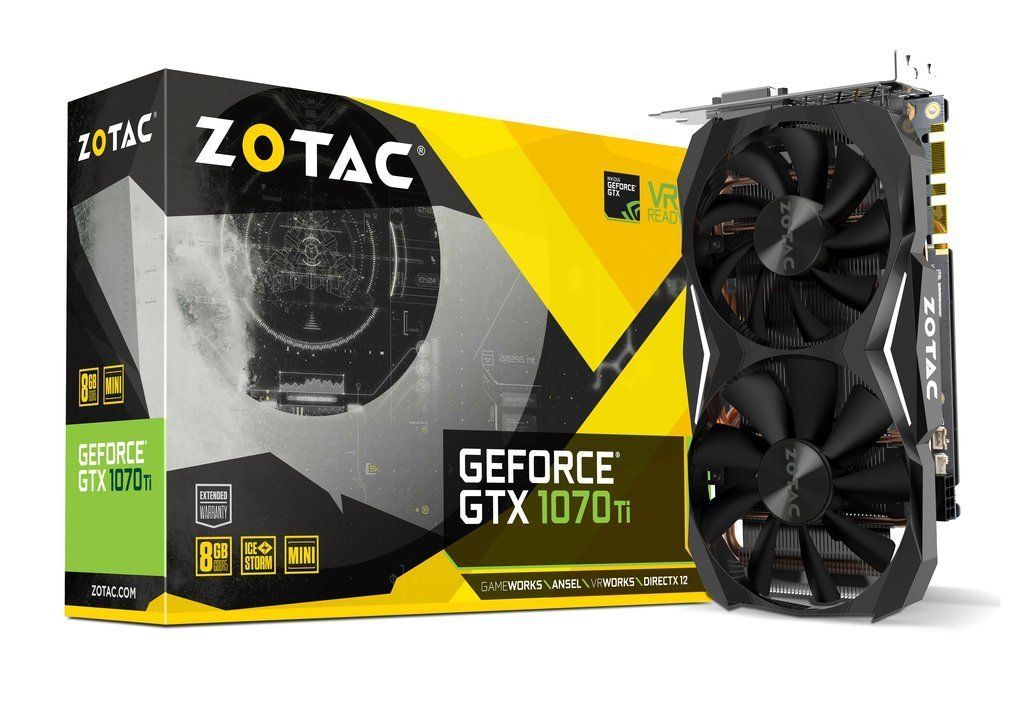
We recommend Nvidia GeForce GTX 1070 because of its performance or AMD RX 480 for its low price and the fastest ROI.
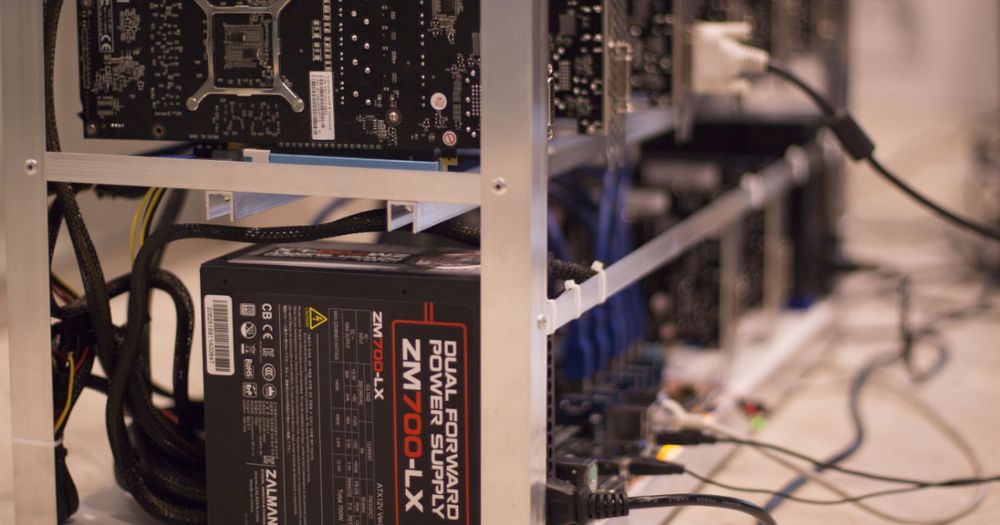
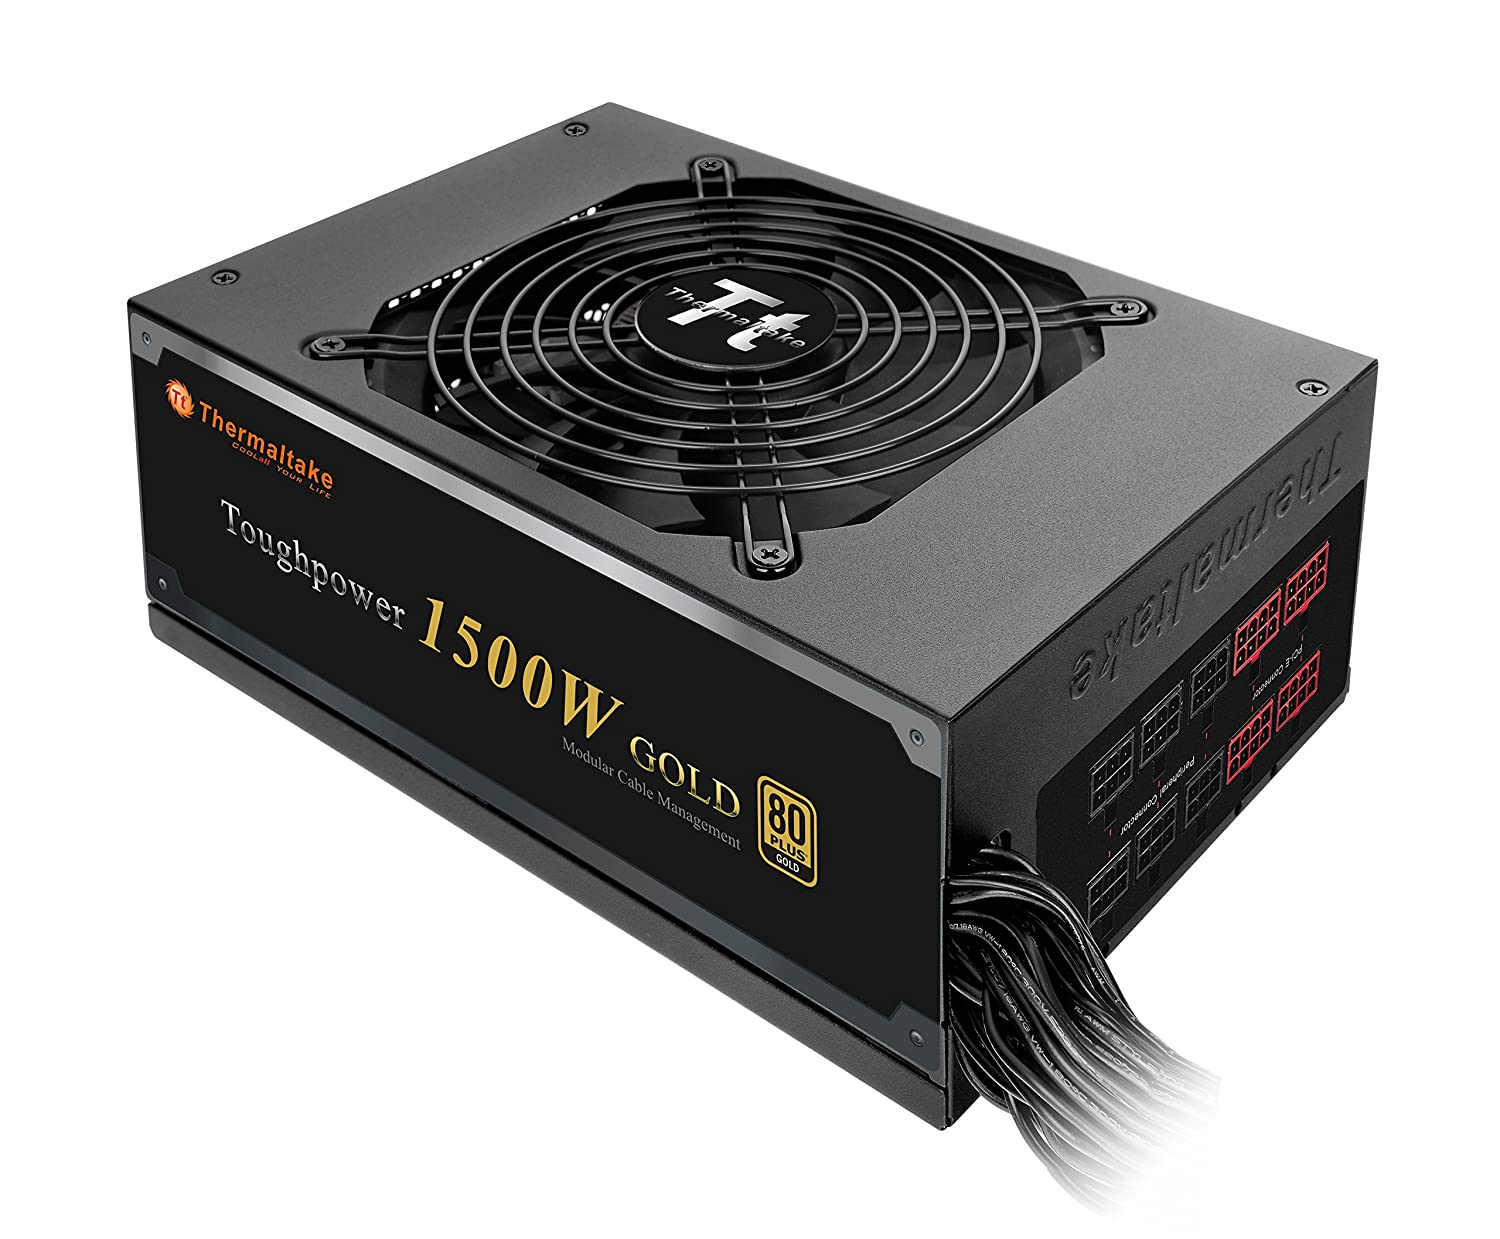
Power supply
How much power do I need for my rig? That solely depends on the hardware used.
Since your graphics card will draw the most power, please refer to its manual to see the max power consumption. If you have more cards in the rig the desired power could be calculated as follows:
<Recommended power in Watts> + (<number of cards in the rig> x <max power consumption in Watts>)
In the case of 6x Nvidia GeForce GTX 1070 the equation would look like this:
500W + (6 x 180W) = 1580W
Thus 1500-1600W power supply would give you plenty of room for your rig without risking any overload.
In that case, we recommend you have a look at Thermaltake Toughpower 1500W 80+ Gold power supply.
Are you ready to mine? Let’s build our mining rig.
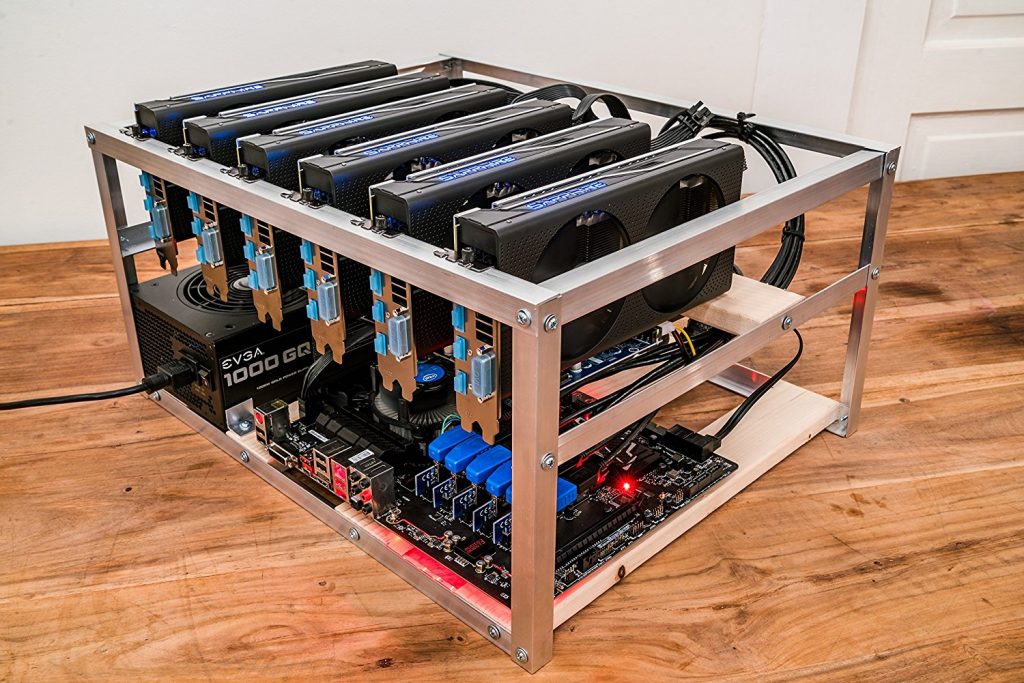
#1 Setting up your rig frame
Get something that can hold your rig’s hardware together. If you are building a smaller rig, an old computer case will do.
However, you can also opt for commonly used items in the home like milk crates, wire racks or wooden frames.
Alternatively, you can go for one that is ready-made; though you’d need to be sure it will fit the rig you intend to build.
#2 Set up your motherboard
Place the motherboard on a flat non-static surface and carefully insert the CPU component into the socket.
Use thermal paste to have your custom cooler attached to the CPU. Learn how to correctly apply thermal paste to CPU or GPU if you've never done it before.
Make sure not to tamper with the CPU fan. Connect this CPU fan to a 3-4 jack and then to the RAM.
Place the motherboard onto the rig frame and secure it into place using screws. Be attentive not to have the motherboard touching any metallic surface (metal surfaces are conductive).
Connect your SSD to the motherboard and secure it into place too.
#3 Install the PSU
Connect the motherboard to the power supply unit using the 24-pin connector near the CPU. Use the 8-pin connector to connect the CPU to the PSU.
Then connect the SATA to the SSD. At this point, ensure the SSD has a power supply connection and that it has a SATA properly connected to the motherboard.
You should zip-tie any extra cables that may get in your way. It is sometimes challenging to have the wires in place neatly, so be patient and use zip ties to hold the wires in position.
With the PSU in place, install the Molex and the 6 pin or if otherwise, the 6 +2 cables into the power supply unit.
The next thing is to power the GPU risers. This is done from the SATA cables. Just take the SATA power cables and line them next to each GPU position along the rig.
#4 Adding GPU risers
It is much easier to just have the USB and Molex cables installed into the RISER socket before attaching the GPU.
Secure your GPU to the rig frame before you proceed to connect the USB into the motherboard slot. Do this one riser at a time till all are done.
After you are done with the risers, connect all your PCIe cables to the GPUs. Every Molex cable comes with at least 3 connecting cables, so you should be able to use 2 of the 3 connectors on 2 different GPU cards.
For instance, I am imagining you have chosen to go with 5 cards. In this case, attach one card to the motherboard and the other 4 to the Risers.
Therefore, if you have 2 Molex cables, you should be able to connect all the other four cards.
#5 Booting up
First, you must have an OS system of your choice on a USB drive.
When booting up for the first time, have your computer monitor connected to the motherboard. The connection should be either to the motherboard’s Graphics output or essentially to GPU.
Next, plug the PSU into the wall socket before you connect the Ethernet cable. You should then boot up the computer and go to BIOS. Getting into BIOS is usually automatic, but if it doesn’t seem to be getting you there, press the DEL button whiles the PC boots.
Go to Settings -> Power management and set your rig to automatically reboot in case of power outage.
Next, check the PCIE subsystem and set it to either gen 1 or gen 2. If the default is set to auto, that’s fine. Proceed to shut down your PC.
#6 Reboot the system using the USB stick you installed
First, load the OS and go to windows. Once on windows, proceed to the website of the motherboard you used.
Use a second computer to download all the relevant drivers that are available.
Install the drivers and run windows update to have the computer system up to date.
#7 Optimize windows
Disable superfetch. With the SSD in place, the will be the set up: Run -> Services -> superfetch (disable).
You should then disable all updates and make sure you cancel any scheduled tasks.
Download the latest version of video card drivers and then do an installation.
Once done with the installation, reboot your computer.
On booting up, go to Device Manager to check and verify that the system has detected all the GPUs.
#8 GPU BIOS set up
Before you proceed, it is also prudent to make a backup of all the files. For the RX series, I recommend you go for Polaris Bios Editor.
Next, we want to set up our GPU by doing a BIOS flash. To do this, flash the BIOS of each and every GPU with AtiFlash.
Once the process is done, reboot your computer.
#9 Download Mining Software
On reboot, check once more if the system still detects all the cards.
Login and download your preferred mining software and install. Just to name a few: BFGminer, CGminer, NiceHash.
The next thing is to choose a pool and set up your pool’s credentials.
Choosing a pool is essential if you are to realize a good ROI because if you choose to solo mine, the returns will be too little and far apart.
You should now go ahead and set up the .BAT file to automatically start the mining software of your choice on system startup.
Go to Windows -> Start -> Programs -> Startup and have a .BAT file shortcut created. The file should either come with the mining software or you have to create it manually.
#10 Download and install overclocking software.
Download the MSI Afterburner, SAPPHIRE TriXX or any other overclocking application.
Use that to make adjustments to the GPUs core, voltage and memory. Aim at having low voltage use but high memory clocks for crypto like ETH.
It is possible to lower the core clock when using one of the RX cards.
When mining other cryptocurrencies, it is advisable to set the rig at low voltage use but high core clocks.
For optimum output, tweak around with the settings until you get what’s best for you.
The value of cryptocurrencies like Bitcoin and Ethereum has added to the attraction people have for them.
Mining is one of the most profitable ways of getting the coins. But it needs dedication and readiness to invest. As such, you need to do is have a good rig to help you get started.