

How to Install and Configure New OpenBazaar 2.0 on Linux and Mac OS X

Popular marketplace OpenBazaar is reaching an important milestone.
After quite a successful start of the first version a year ago, guys from OB1 are finishing OpenBazaar 2.0 which comes with lots of improvements.
It should enter the beta stage soon followed by the production release sometime in August 2017.
Because of the major technical changes, my old tutorial on how to install OpenBazaar server no longer works.
Thus, I'm coming with a new post that explains all the necessary steps to set up your new OpenBazaar store.
For the purpose of the tutorial, I'm using my Raspberry Pi 3 running Raspbian OS but it should work on any Linux distribution especially Debian-based.
I'm also including extra steps for Mac OS X. I don't have any Windows machine, sorry.
#1a Install dependencies on Linux
Install build tools first:
sudo apt-get update
sudo apt-get install build-essential git
Next, make sure you have Go language version 1.8.x. Install it directly from Google instead of your system's repository:
cd ~
wget https://storage.googleapis.com/golang/go1.8.3.linux-armv6l.tar.gz
sudo tar -zxvf go1.8.3.linux-armv6l.tar.gz -C /usr/local/
You can download a different build based on your architecture. The options are: 386, amd64, armv6l, ppc64le and s390x.
Check that the system recognizes your newly installed Go:
/usr/local/go/bin/go versionNow create "go" folder in your home directory:
mkdir ~/goExport local Go paths and load them:
echo "export GOPATH=$HOME/go" >> .profile
echo "export PATH=$PATH:/usr/local/go/bin" >> .profilesource ~/.profile
#1b Install dependencies on Mac OS X
On Mac OS X, you can use brew to install packages in a Linux fashion.
echo "export GOPATH=$HOME/go" >> .profile
echo "export PATH=$PATH:/usr/local/go/bin" >> .profile
source ~/.profile
Export Go path:
echo "export GOPATH=$HOME/go" >> .profile
source ~/.profile
#2 Install and set up OpenBazaar-go
Fetch "openbazaar-go" from the Github repository:
go get github.com/OpenBazaar/openbazaar-goThe code will be downloaded to your ~/go folder.
Run the server to check if it works correctly.
go run $GOPATH/src/github.com/OpenBazaar/openbazaar-go/openbazaard.go startWait a bit until you see a message that the server is running. Quit it with CTRL + Q.
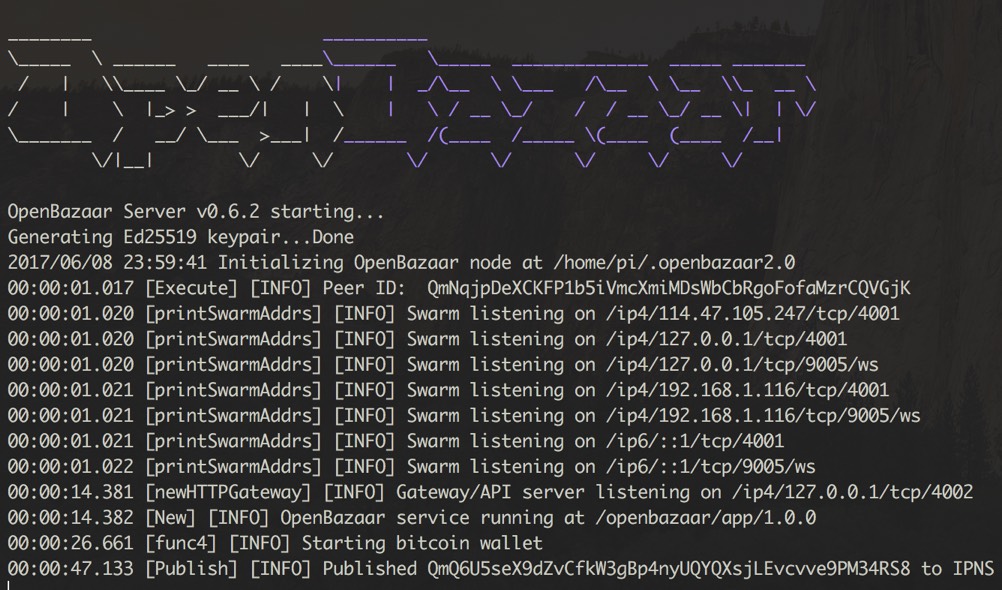
It will also create a data folder with configuration and other files.
Go to the newly created OpenBazaar folder:
cd ~/.openbazaar2.0In the next few steps, we will have to change some configuration variables.
I recommend you to go through all of them manually but for now, we will only change those necessary.
First, we need to set OpenBazaar to run on a specific IP address.
In the case you have a static IP, run this command:
sed -i -E "s|(\"Gateway\": \"/ip4/)127.0.0.1|\1$(dig +short myip.opendns.com @resolver1.opendns.com)|" configIf your server runs behind a dynamic IP address, set your server to listen on 0.0.0.0 instead:
sed -i -E "s|(\"Gateway\": \"/ip4/)127.0.0.1|\10.0.0.0|" configNext, set login credentials to access OpenBazaar API:
go run $GOPATH/src/github.com/OpenBazaar/openbazaar-go/openbazaard.go setapicredsThis will be your username and password to use in OpenBazaar client app.
#3 Create a self-signed certificate and set up SSL
OpenBazaar developers have decided to require running the server over SSL connection.
Start by creating a root certificate and keys:
openssl genrsa -out rootCA.key 4096
openssl req -x509 -new -nodes -key rootCA.key -days 1024 -out rootCA.crt -subj "/C=DE/ST=Germany/L=Walldorf/O=SAP SE/OU=Tools/CN=rootCA"
openssl genrsa -out server.key 4096
You may want to change provided data in the second command, but it's not necessary.
Create a certificate signing request (CSR) for a static IP address:
openssl req -new -key server.key -out server.csr -subj "/C=DE/ST=Germany/L=Walldorf/O=SAP SE/OU=Tools/CN=$(dig +short myip.opendns.com @resolver1.opendns.com)"For a dynamic IP address, you will have to set up a dynamic DNS hostname first and use it in the CSR command instead:
openssl req -new -key server.key -out server.csr -subj "/C=DE/ST=Germany/L=Walldorf/O=SAP SE/OU=Tools/CN=your.hostname.dyndns.org"Finish the process by creating your server's trusted certificate:
openssl x509 -req -in server.csr -CA rootCA.crt -CAkey rootCA.key -CAcreateserial -out server.crtNext, add the newly created server.crt and server.key to the OB config file:
sed -i -E "s/(\"SSL\": )false/\1true/" config
sed -i -E "s|(\"SSLCert\": \")|\1$HOME/.openbazaar2.0/server.crt|" config
sed -i -E "s|(\"SSLKey\": \")|\1$HOME/.openbazaar2.0/server.key|" config
To establish a secure connection with your server, download rootCA.crt to your local computer and install it by double clicking. Follow the on-screen instructions.
You will have to install this certificate on every computer that will want to log in to the server.
#4 Allow incoming connections to your server
You will likely have to allow incoming connections on your firewall. TCP port 4002 needs to be open.
On Linux, firewall rules can be managed via iptables:
sudo iptables -A INPUT -p tcp --dport 4002 -j ACCEPTSome Linux distributions may use ufw as an easier to use rules manager. If that's the case, run the following instead:
sudo ufw allow 4002/tcpOn Mac OS X, open System Preferences -> Security & Privacy -> Firewall -> Firewall Options and click + button.
Navigate to ~/go/src/github.com/OpenBazaar/openbazaar-go and select openbazaard.go. It will now allow incoming connections for the server application.
If your server is behind a router, you also need to forward traffic to your internal IP. There are tens of thousands of different routers and it's beyond the scope of this article to explain the process in detail.
However, you will want to find your local IP first:
ifconfig -a | grep broadcast | awk '{print $2}'Open your router administration which is usually located at http://192.168.1.1 or http://192.168.0.1.
Look for "Virtual Server" or "NAT Forwarding" and type in the local IP address and TCP port 4002 that you want to forward traffic for.
#5 Start the server automatically
I tried to create a Systemd service but it seems relative paths will need to be fixed in OpenBazaar first. I've created an issue in their Github repository so hopefully, they take a look at it.
Until then, you will have to "hack" it via a script periodically run by Cron.
Go to ~/bin (if the folder doesn't exist create it) and download my short script:
cd ~/binwget
https://gist.githubusercontent.com/mariodian/9991f718c38ed0bd0f2dafe21b788936/raw/60d578eacd09c90012aa0e7cddd6d856b0716cea/ob2start.sh
chmod u+x ob2start.sh
Edit it to match your system environment.
Open Cron for editing:
crontab -eand add the following line (edit according to your home path):
*/5 * * * * . $HOME/.profile; /home/pi/bin/ob2start.sh >/dev/null 2>&1Exit Cron and check whether the record was successfully added:
crontab -lCron will now periodically check (every 5 minutes) whether an OpenBazaar process is running. If it isn't it will start it for you.
It's a nasty hack but it works.
#6 Install OpenBazaar Desktop
OpenBazaar Desktop is a brand new client app that only works with OpenBazaar 2.0 server.
There isn't any easy-to-use build available yet, so you will have to run it with node.js.
If you have a Debian-based Linux distribution all you have to do is:
sudo apt-get install npmOn OS X, you can install it with brew:
brew install npmWait until it installs and then use git to fetch the code from their repository:
cd ~/bin
git clone https://github.com/OpenBazaar/openbazaar-desktop
Go to the newly created folder:
cd openbazaar-desktopand install the the required dependencies:
npm installWhen finished start the app by:
npm installA server configuration window will open.
Connect to the server by providing its IP address/hostname and login credentials.
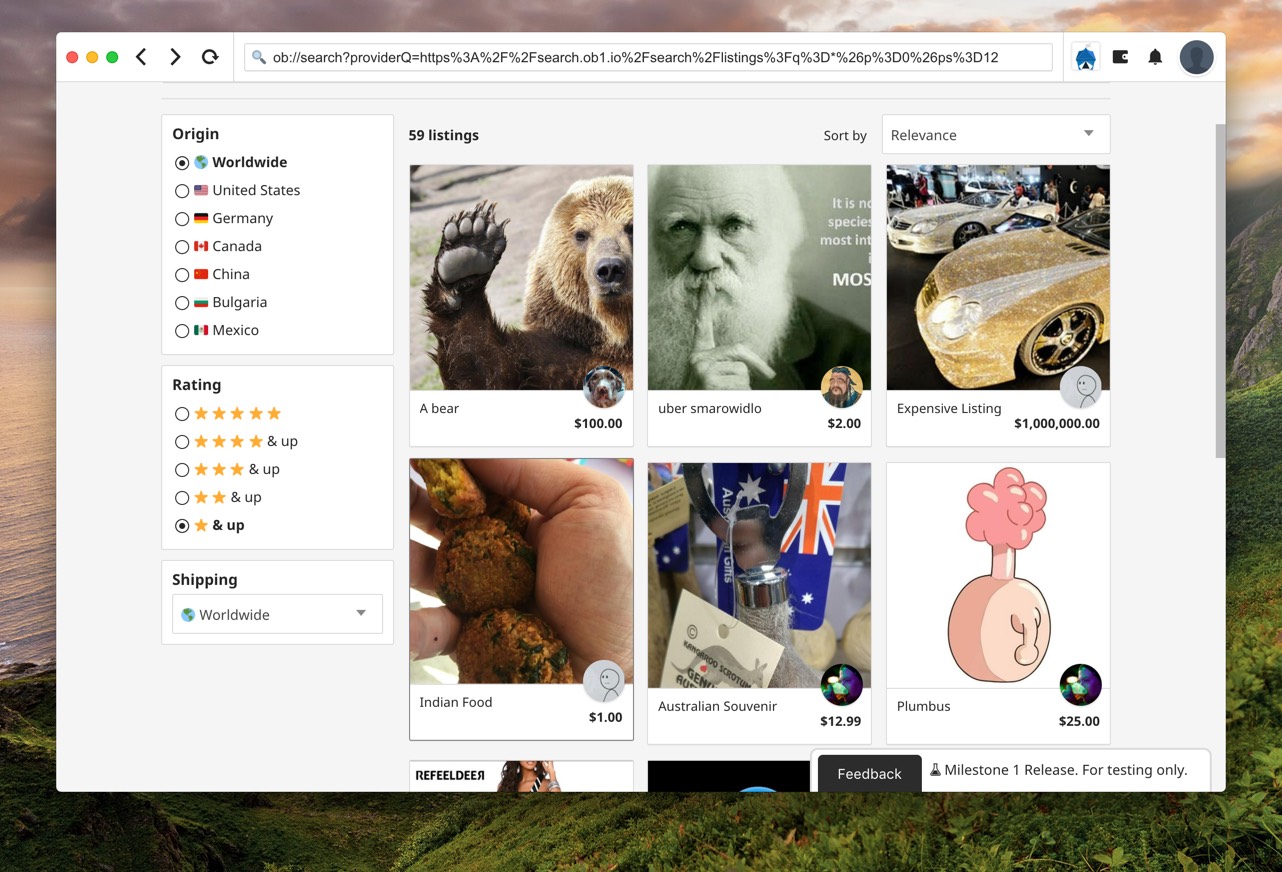
You can now start browsing listings, set up your store etc.
OpenBazaar is currently at a development stage and things will likely change in the near future. I will be updating this post accordingly.
In the next tutorial, we'll have a look at enabling anonymity with Tor for your store. Unfortunately, you will have to create a completely new store ID to make sure no info was leaked prior using Tor.
Either way, stay tuned!