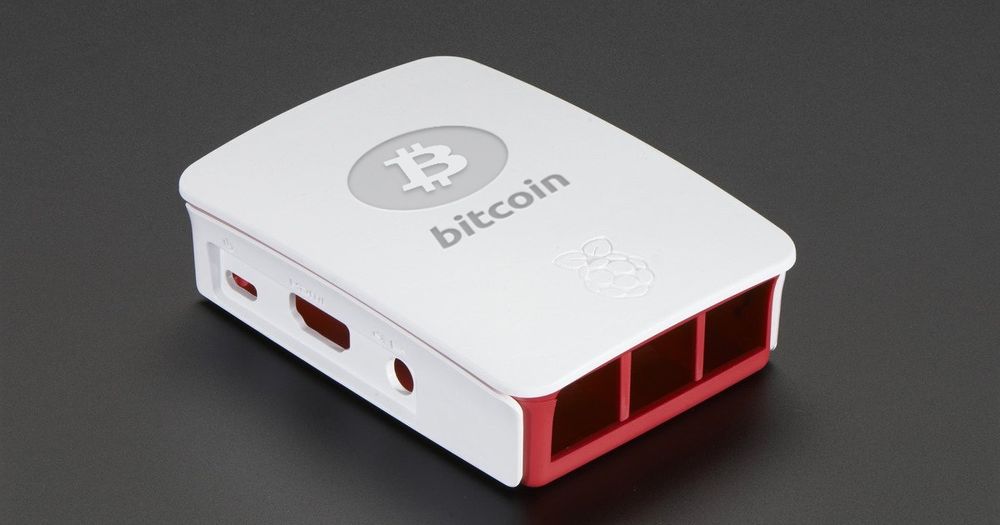
How to Set up Full Bitcoin Node on Raspberry Pi 3 with Ease

Running a full node is crucial for securing the Bitcoin network. Without a substantial number of nodes decentralization of Bitcoin would be in danger.
If you're a service provider or a volunteer, Raspberry Pi 3 provides a cheap way to access and maintain the full blockchain and contribute to overall security and performance of the network.
Before we start, make sure you have:
- fully working Raspberry Pi 3
- a large external storage such as USB flash drive
- good Internet connection
Update OS and Install Dependencies
Make sure we have latest Raspbian packages.
sudo apt-get update
sudo apt-get upgrade
Some additional dependencies are needed to build the bitcoin client.
sudo apt-get install build-essential autoconf libssl-dev libboost-dev libboost-chrono-dev libboost-filesystem-dev libboost-program-options-dev libboost-system-dev libboost-test-dev libboost-thread-dev libevent-dev libtoolPre-installed Raspbian's Berkley DB doesn't play well with the bitcoin client, we need to compile our own.
mkdir ~/source
cd ~/source
wget http://download.oracle.com/berkeley-db/db-4.8.30.NC.tar.gz
tar -xzvf db-4.8.30.NC.tar.gz
cd db-4.8.30.NC/build_unix/
../dist/configure --enable-cxx
make
sudo make install
Install the Bitcoin Client
I'm a supporter of a reference implementation from core devs, but you can use any available bitcoin client. The steps may differ, though.
Let's download the current code first (v.0.13.1 as of November 7, 2016):
cd ~/source
git clone -b 0.13 https://github.com/bitcoin/bitcoin.git
cd bitcoin/
Configure the source code, compile it and install:
./autogen.sh
./configure CPPFLAGS="-I/usr/local/BerkeleyDB.4.8/include -O2" LDFLAGS="-L/usr/local/BerkeleyDB.4.8/lib"
make -j1
sudo make install
This process took ~2 hours to finish for me. Please be patient.
If you use swap, you can speed it up by running make -j2 instead.
Synchronize with the Network
Run your newly installed node as a process ("&" will suppress any output):
bitcoind &Wait for a few seconds and check that the node responds to your commands:
bitcoin-cli getblockchaininfo
It should tell you it's downloading the blockchain. If it gives you any error let me know in the comments below.
In the case of no errors wait for the node to finish downloading the whole blockchain (currently ~100GB).
This process is very time-consuming on RPi3 and may easily take 2-3 weeks to finish.
You may occasionally check the process by comparing the following command's output with info from any publicly accessible block explorer such as this one.
bitcoin-cli getblockcountAfter all bitcoin transactions are downloaded and verified stop your node and proceed to the next step:
bitcoin-cli stop
SanDisk 256GB Cruzer Glide
High quality USB stick. Perfect start for your Bitcoin node on Raspberry Pi.
Start the Node Automatically
Bitcoin full node is a very resource intensive program. The chances are it will crash itself or the whole operating system occasionally.
We need to make sure it can start automatically should any issues occur by installing it as a Linux service. By default, Raspbian uses Systemd to take care of services.
I've written a basic script that works well for me. You can download it from my gist page:
sudo -s
cd /lib/systemd/system/
wget https://gist.githubusercontent.com/mariodian/c649cda70291dbc6e083bdc410e6f8aa/raw/d5476454e3187c78f6f84e2a2e1f097376723f58/bitcoind.service
chmod 664 ./bitcoind.service
The script runs well on a default Raspbian setup without any modifications. Feel free to edit it to your needs.
Enable the service:
systemctl enable bitcoind.serviceIf it doesn't output any error run the service and exit the super-user environment:
service bitcoind start
exit
Your bitcoin node should now start automatically after every crash and system restart.
Make it Accessible from the Outside World
When you first install a bitcoin node it isn't accessible to the rest of the network thus isn't fully supporting it. We need to open ports to make it "visible".
Bitcoin full node listens on port 8333 by default. We'll create following iptables records then:
sudo iptables -A INPUT -p tcp --dport 8333 -j ACCEPT
sudo iptables -A INPUT -p udp --dport 8333 -j ACCEPT
Give it some time (1-60 minutes) and check the node info:
bitcoin-cli getnetworkinfoIn case the number is 8 or less, don't worry and wait a "little" more. Your node is probably still synchronizing and has nothing to offer to the network yet.
If it shows more than 8 connections, it's successfully broadcasting transactions across the network!
We'll have a look at monitoring our full bitcoin node next time.
Are you still deciding on buying Raspberry Pi 3? Get the complete Starter Kit for just $68.99
Please let me know in the comments below if you have any issues following this tutorial.


