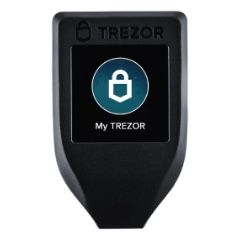
How to Setup Monero Wallet with Trezor Model T ahead of Schedule
While Monero is a leading cryptocurrency when it comes to privacy, safe storage of private keys is where it lacks.
If you aren't a big fan of Ledger like me, your only option is storing the keys on a paper wallet.
The good news is, Pavol Rusnak from SatoshiLabs recently announced Monero support in their Trezor Model T!
The bad news is, the wallet support isn't finished yet nor it is easy to set up.
It's 28th of October and everybody is celebrating the 100th anniversary of Czechoslovakia. Meanwhile, I am finalizing the new firmware for Trezor, which will be released tomorrow. Independent organizational structures built on top of a truly decentralized economy are the future! pic.twitter.com/ocB3hZg1Cm
— Pavol Rusnak 😷 #taproot (@pavolrusnak) October 28, 2018
However, I managed to "figure it out" (I had one of the Trezor devs help me) so let's get right to it.
This tutorial is written for MacOS and Ubuntu but it should work on any Debian based Linux and with some minor changes on most of major Linux distributions.
Also please note, that Trezor currently only works with monero-wallet-cli. The GUI and Trezor.io web wallet support will follow later.
#1a Install dependencies on Linux
Update the system's repositories and packages:
sudo apt-get update && sudo apt-get upgrade -yInstall the required dependencies:
sudo apt-get install build-essential cmake pkg-config libboost-all-dev libssl-dev libzmq3-dev libunbound-dev libsodium-dev libunwind8-dev liblzma-dev libreadline6-dev libldns-dev libexpat1-dev doxygen graphviz libpgm-dev protobuf-compiler libprotobuf-dev
#1b Install dependencies on MacOS
Update brew and all existing packages:
brew update && brew upgradeIt may take a while.
Install the required dependencies.
brew install boost --c++11 cmake doxygen expat graphviz ldns miniupnpc openssl pkgconfig protobuf readline libpgm libsodium libunwind-headersCurrently, there seems to be an issue with ZMQ on brew so add a new repository and install ZMQ headers from there:
brew tap jmuncaster/homebrew-header-only
brew install jmuncaster/header-only/cppzmq
#2 Download and build Monero with Trezor support
Create a source folder if you haven't already and open it:
mkdir ~/source
cd ~/source
Clone the official Monero repository:
git clone --recursive https://github.com/monero-project/monero.git
cd monero
Compile the source code:
make -j4 releaseYou can mess with the -j4 parameter if you have enough resources. The parameters tells the compiler how many CPU threads to use.
The process may take some time depending on your hardware. My latest MacBook Pro 15" was able to compile it under 2 minutes. It took my Intel NUC server twice the time.

When finished, locate the compiled binaries.
On Linux:
cd ~/source/monero/build/Linux/master/release/binOn MacOS:
cd ~/source/monero/build/Darwin/master/release/binCopy the binaries to your path:
sudo cp * /usr/local/bin/To setup and run monerod service (if you haven't already), please follow the instructions in sections 4 and 5.
If you connect your Monero wallet to a remote node you can skip the above step.
#3 Update Trezor Model T
Download and install the latest Trezor bridge (currently 2.0.25).
When finished, restart your browser and open the Trezor web wallet.
Connect your Trezor Model T while sliding your finger up and down on the screen. This will trigger a firmware update.
Follow the on-screen instructions and when updated unplug and plug your device.
Trezor Model T
Protect your bitcoin and other assets against theft with a bank that easily fits into your pocket.
#4 Generate a wallet with Trezor
To start using Monero with Trezor, you'll have to generate a wallet with Trezor's private key first.
Create a new folder that will store Monero wallet files if it doesn't exist already:
mkdir -p ~/Monero/wallets
cd ~/Monero/wallets
Generate the wallet with Trezor:
monero-wallet-cli --hw-device=Trezor --generate-from-device ~/Monero/wallets/monero_trezor --restore-height=1695424You can customize the --restore-height parameter based on the latest block from Monero Blocks explorer (only do that if the wallet hasn't received any moneroj before).
If you're connecting to a remote node add --daemon-address remote.node.tld:port at the end of the previous command.
You will be prompted for a password that will encrypt the wallet file. Please note that this password has nothing to do with Trezor's passphrase yet!
After you create an encrypted wallet, Trezor will ask you to type in the device's passphrase.
Currently, only passphrase typed on the device itself is supported. You can either type an empty password or come up with one. If you go for the latter, make sure to remember it!
In the next step you will have to allow Trezor to provide monero-wallet-cli with a private view key.
#5 Open your wallet with Trezor
To open the wallet after it's been generated, just connect your Trezor Model T, unlock it, and type in the following command:
monero-wallet-cli --wallet ~/Monero/wallets/monero_trezor --log-file ~/Monero/wallets/monero-wallet-cli.logUnlock the wallet file with the first password and then type your device's passphrase on Trezor.
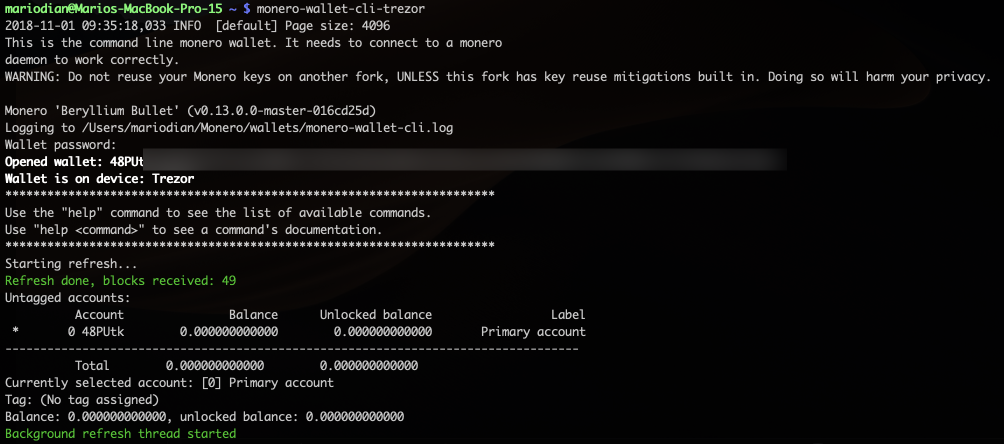
The wallet will check for new transactions and you're good to go.
Big thanks goes to Dušan Klinec (ph4r05) who is one of the developers that worked on the Monero implementation. He is also the one that helped me figuring out how to set up the wallet.
Also thanks to everyone from SatoshiLabs that has made this possible!
If you like what I do, I'd appreciate if you purchased Trezor (when you decide to get one) through the buttons above. I will receive a small commission which will help me maintain this website. Thank you!


